

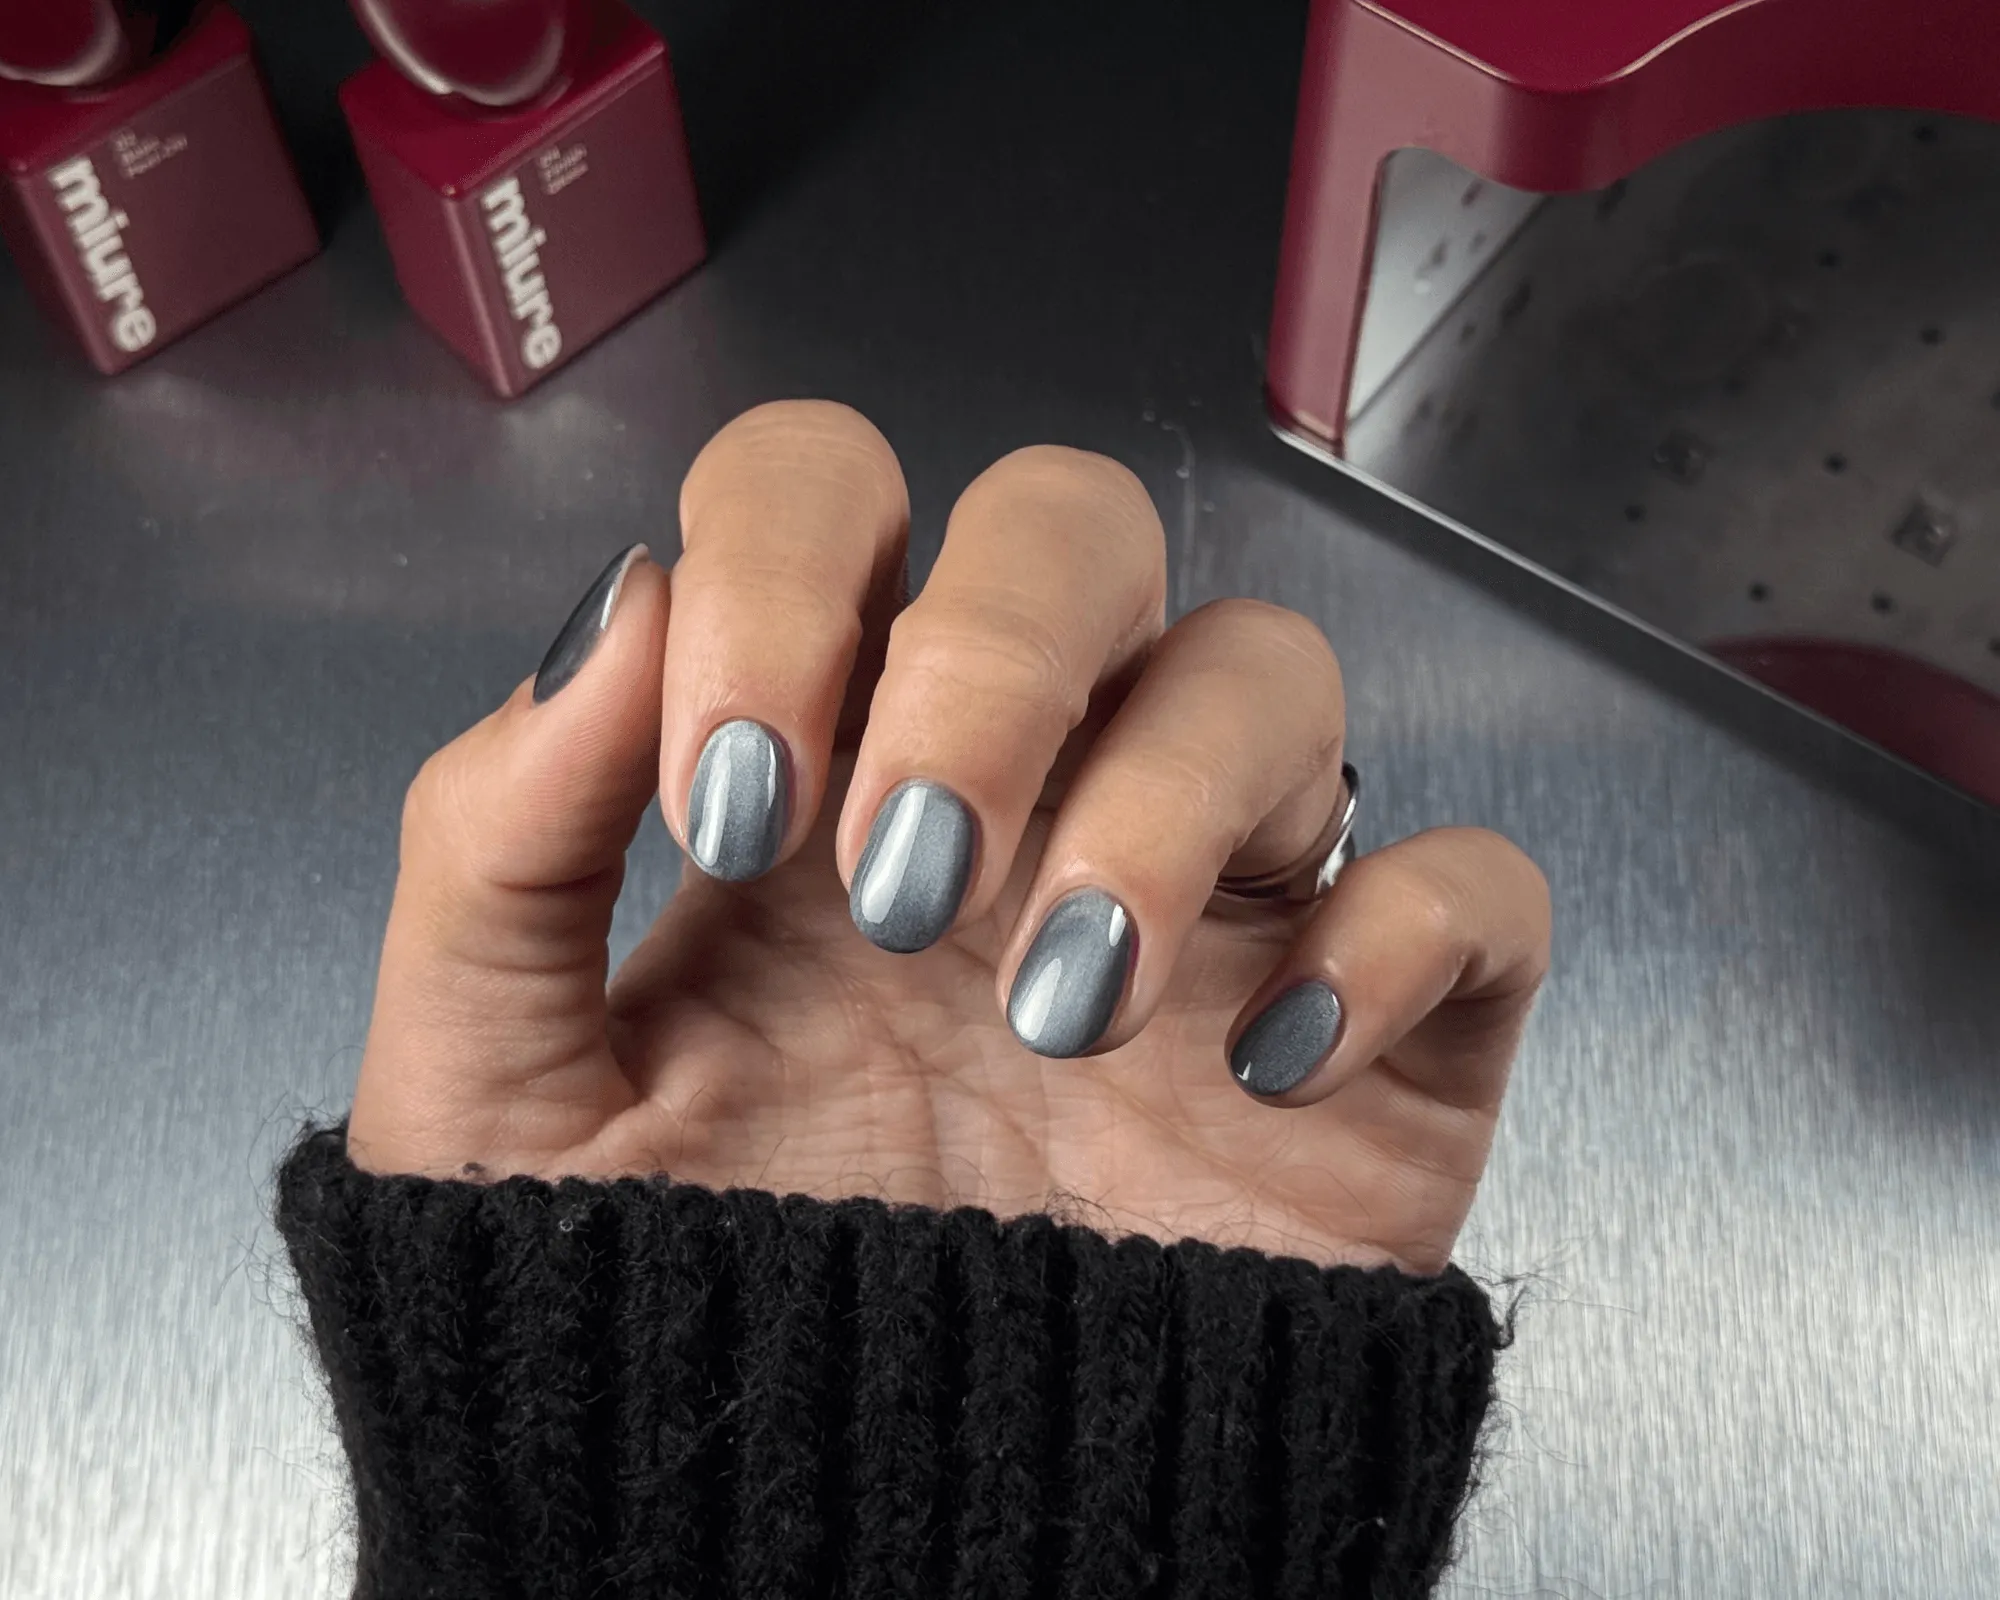
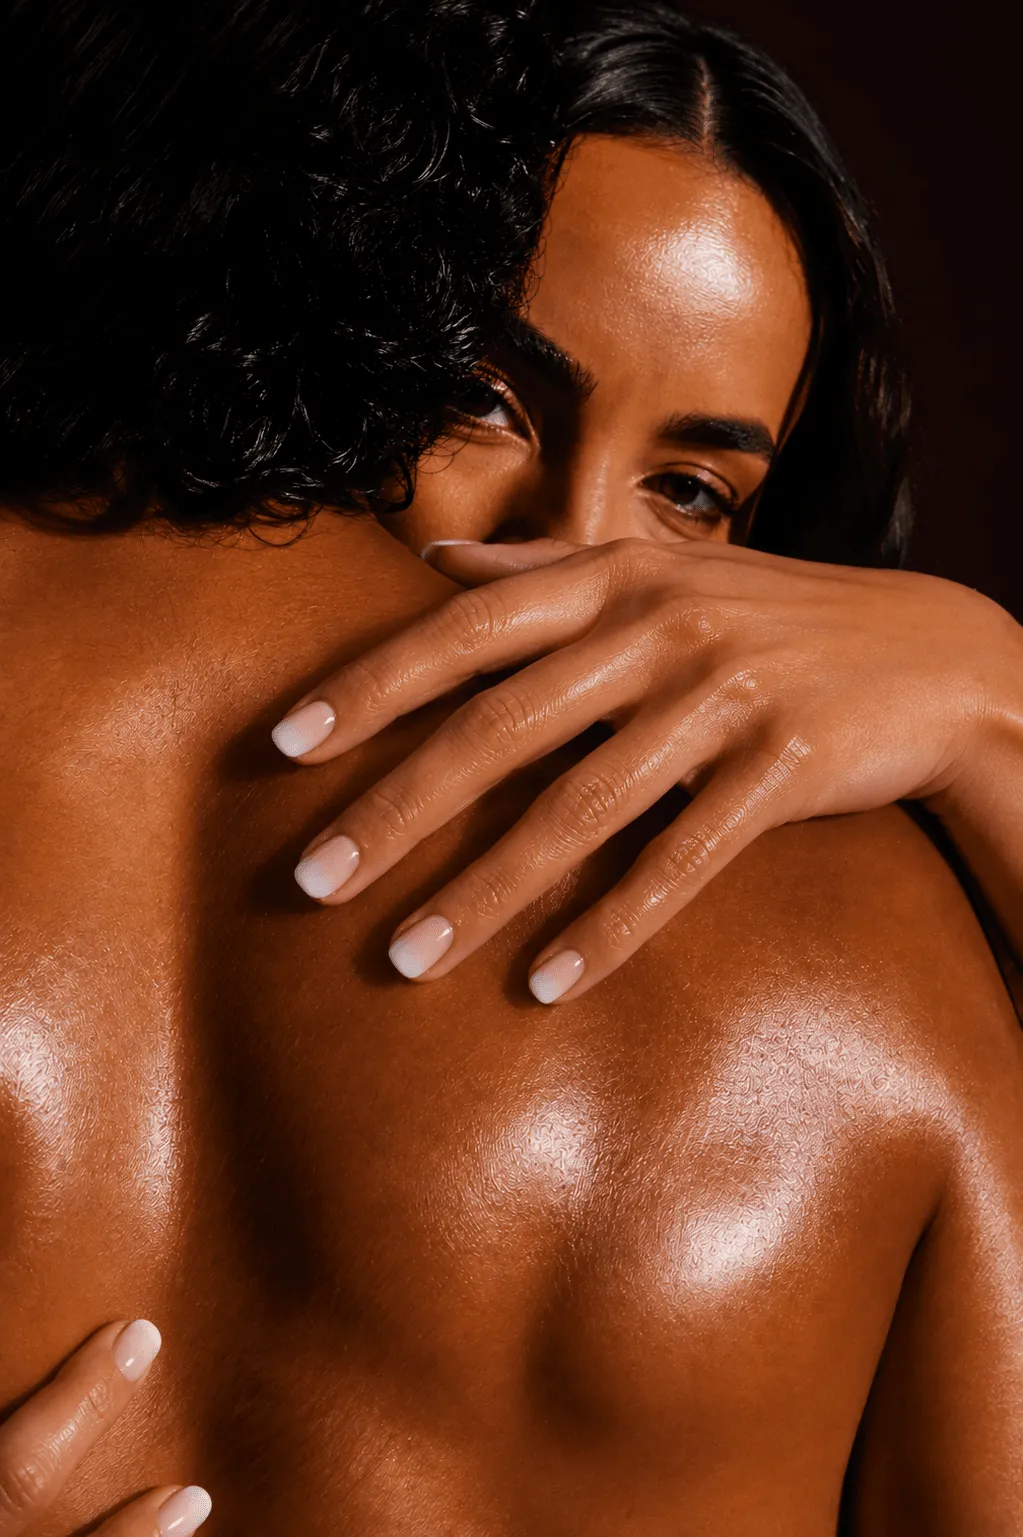
french manicure tutorial
A sheer base, a white tip and a hand steadier than yours needs to be, or so the story goes. The full method, from the first stroke to the micro and coloured versions.
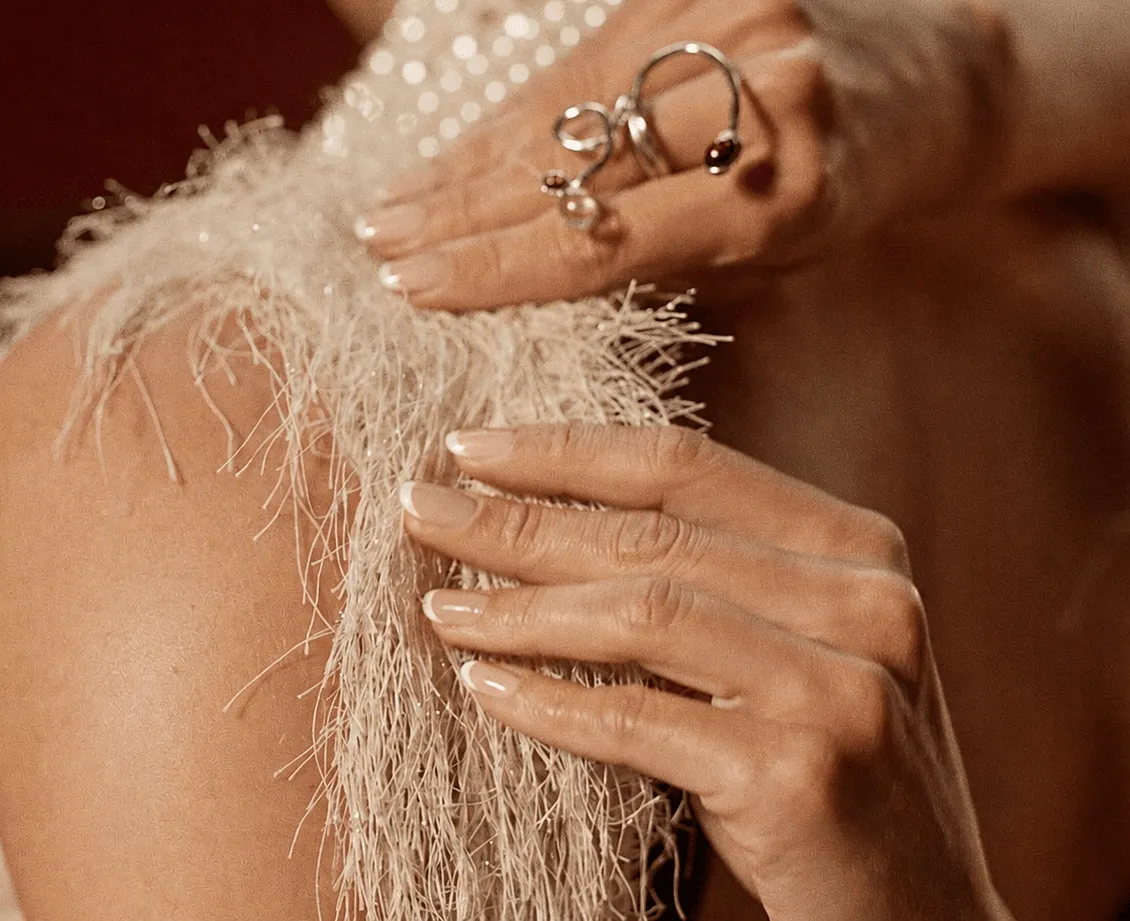
The french manicure has a reputation: gorgeous, timeless, and impossible to do yourself. Two of those are true. The white tip takes practice, but gel polish quietly removed the scary part, because nothing cures until you say so, and a wobbly line wipes away for a second try. This is the full tutorial, from prep to the variations you’ll want by week three.
what you need
Two shades and the routine. A sheer pink or nude for the base, close to your own nail tone, and a clean white for the tip. Around them, the usual suspects: prep, your base coat of choice, and the no-wipe top coat to seal the result. And one tool worth having: a thin nail art brush. The bottle brush can draw a tip, but a liner brush draws a cleaner one, and the classic deserves it. Guides and stickers you can skip, the retry trick below does their job better.
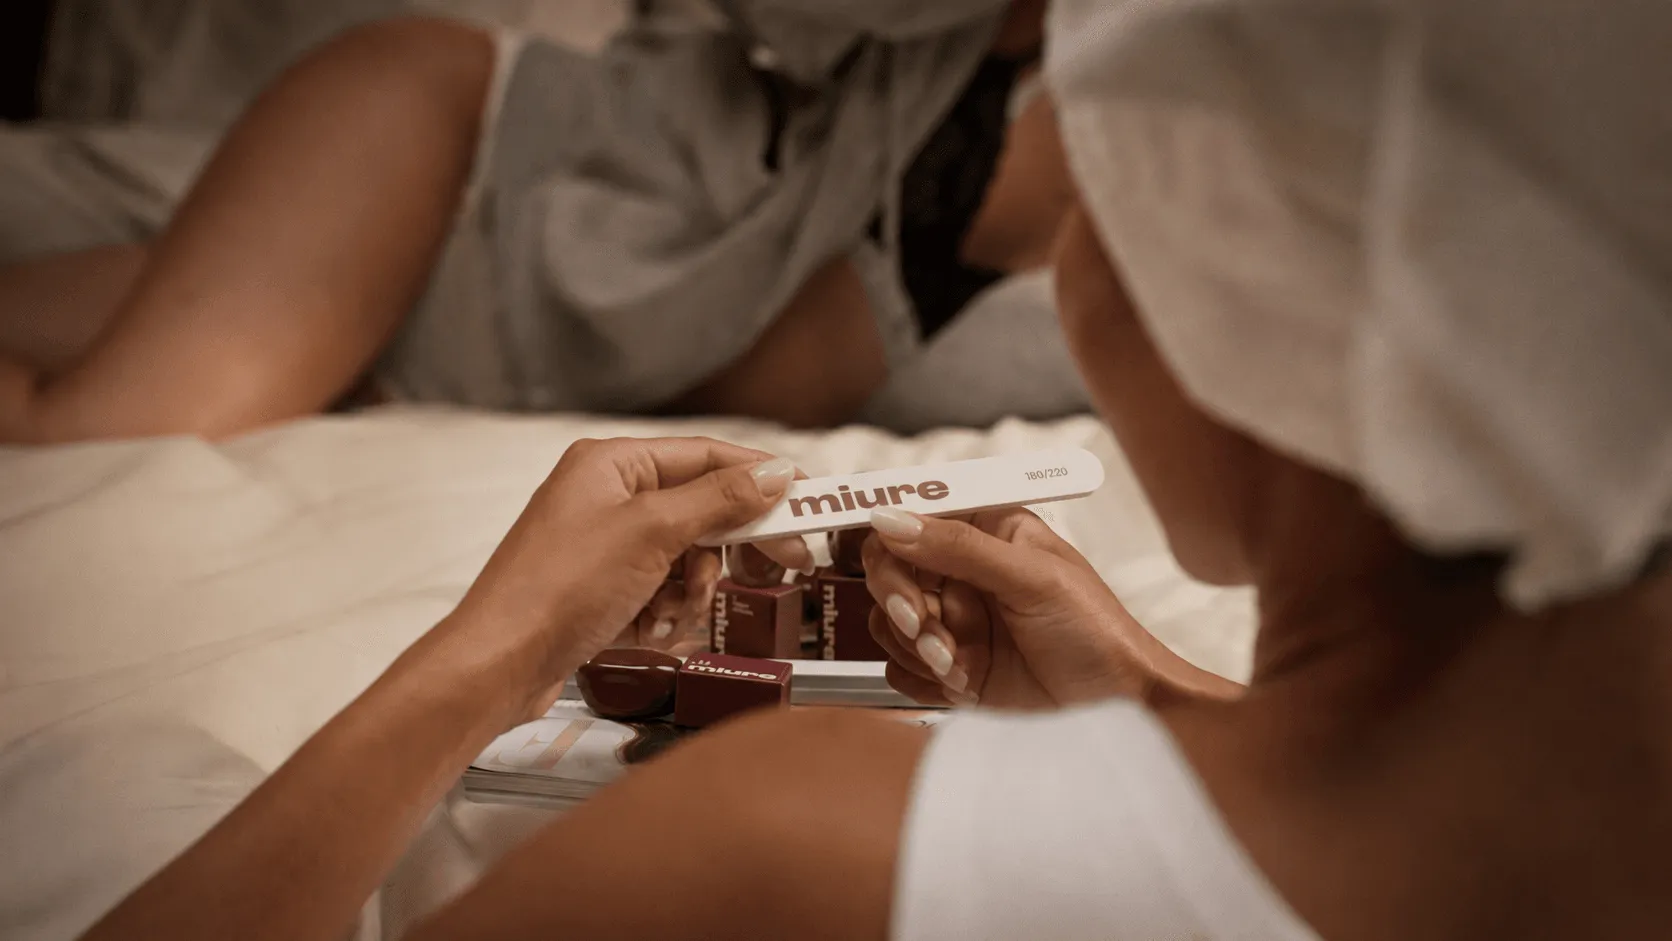
every line stays a draft until the lamp
the method, the line, and the variations
step by step
One. Prep and clean cuticles, a crisp line needs a crisp frame. Two. Base coat, cured. Three. Two thin coats of your sheer pink or nude, each cured 30 seconds under the miure lamp. Four. The tip: rest your painting hand’s pinky on the table for stability, take the white on a thin nail art brush, and draw it along the free edge in one calm stroke, following your natural smile line. Working with the bottle brush instead? Use its side, not its point. Not happy? Wipe it off and go again, gel polish only cures under the lamp. Five. Happy? Cure. Six. Top coat over everything, free edge sealed with every layer, done.
getting the line right
Three tricks carry the whole technique. Start thin: a narrow line can always grow, a thick one can only be wiped. Wipe the art brush clean between nails, uncured gel polish comes off it with a lint-free wipe. And do the tip in two small strokes from each side toward the centre if one sweep feels ambitious. By the third manicure your hand knows the curve better than your eyes do.
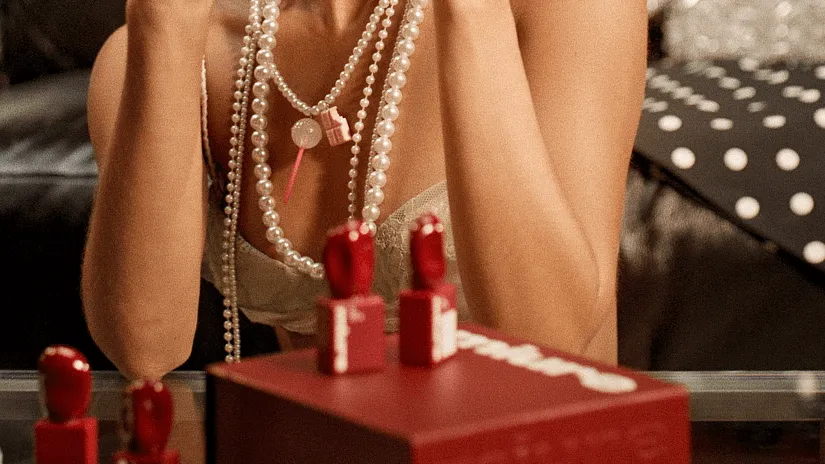
after the classic: the variations
Once the white tip obeys, the method carries every version of the trend. Micro french: the thinnest possible line, barely there, very now. Coloured french: any shade in the colour range on tip duty, red tips on nude is a personality in one stroke. Deeper smile line: drama, in a good way. And when you want the soft-focus version of all of this, babyboom nails blend the tip instead of drawing it, that tutorial is the sister of this one.
what the classic takes
frequently asked questions
How do you do a french manicure without guides or stickers?
With a thin nail art brush and the retry trick: draw the white tip, and if the line wobbles, wipe it away and go again, gel polish only cures under the lamp. No art brush? The side of the bottle brush works, start thin and steady your hand on the table.
Which colours make a classic french manicure?
A sheer pink or nude base close to your own nail tone, and a clean white for the tip. The base should look like your nail on its best day, the tip like the cleanest free edge ever grown.
Is a french manicure suitable for short nails?
Yes, with one adjustment: keep the tip thin. A micro french on short nails reads elegant and deliberate, where a thick white band would eat the nail. Short and sharp is a look, not a compromise.
How long does a french manicure last in gel polish?
The tip changes nothing about the wear: up to 12 days on the peel-off base coat, 14+ on the soak-off, with thin layers and a sealed free edge every time.