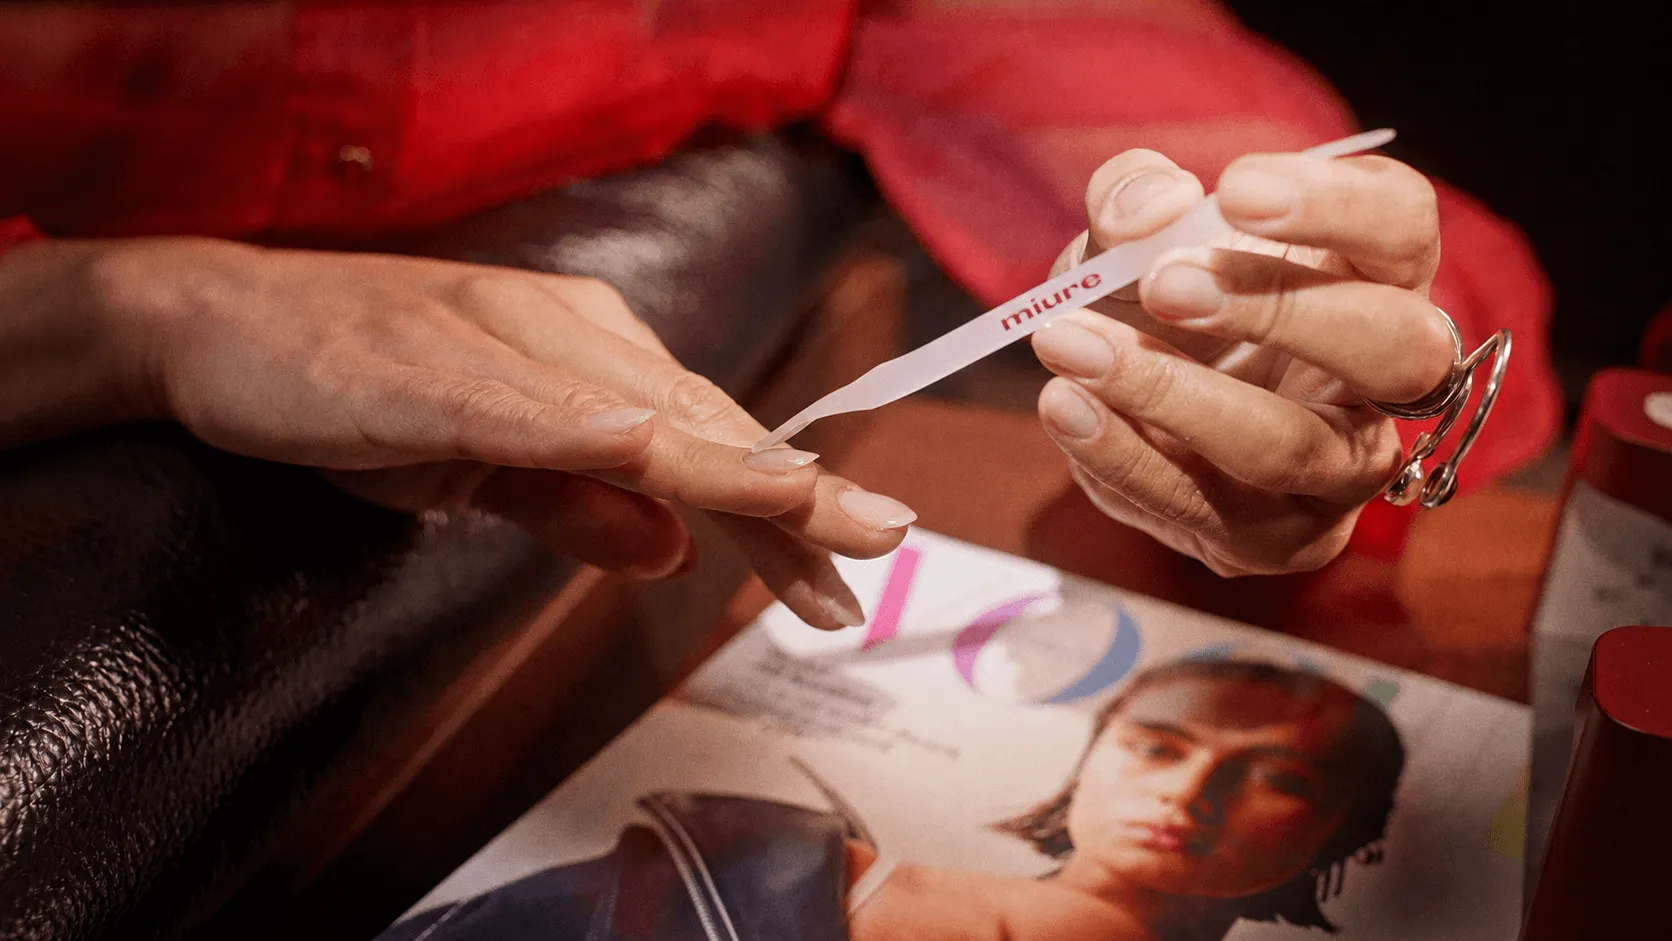
nail prep
five minutes that decide how many days you get
Applying gel polish at home isn’t a skill you acquire, it’s a routine you repeat: prep, then four steps, numbered on the bottles in the order you use them. 01 prepper, 02 base, 03 colour, 04 finish. Every miure manicure runs on those numbers, whether it’s your first or your fiftieth, classic red or cat eye. This page is the whole routine in one view; every step below has its own page when you want the detail.
Degreases and primes the bond, your insurance against lifting, and on oily nail types non-negotiable.
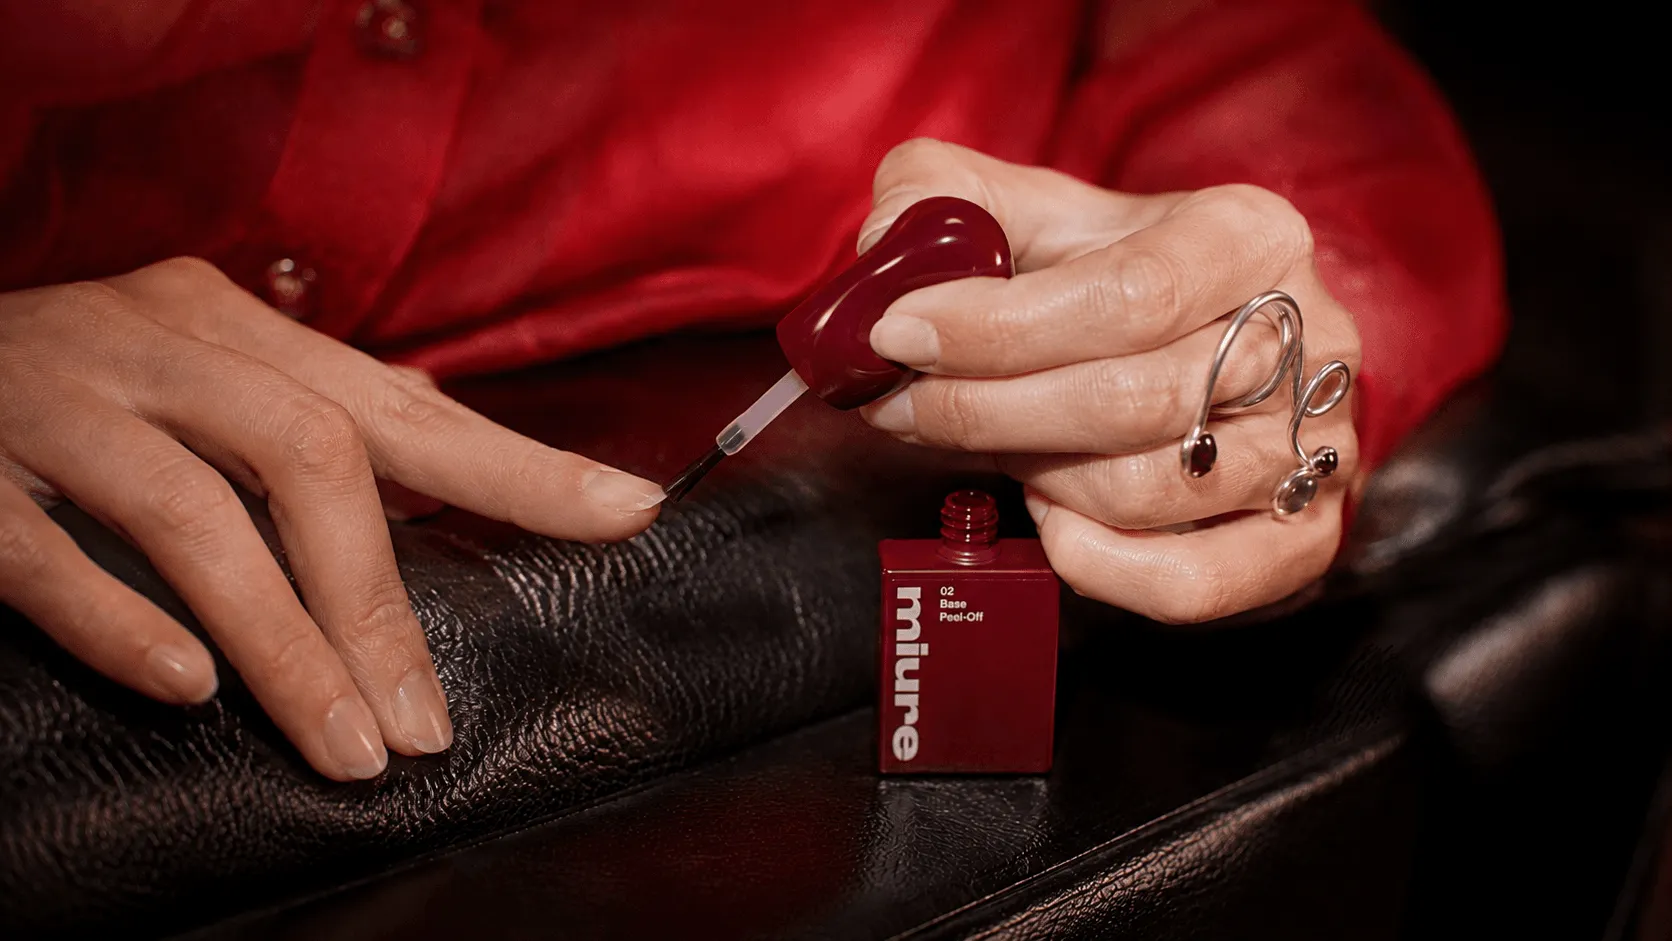
Here you make the one real decision of the routine, peel-off or soak-off, your hold and your exit in one bottle.
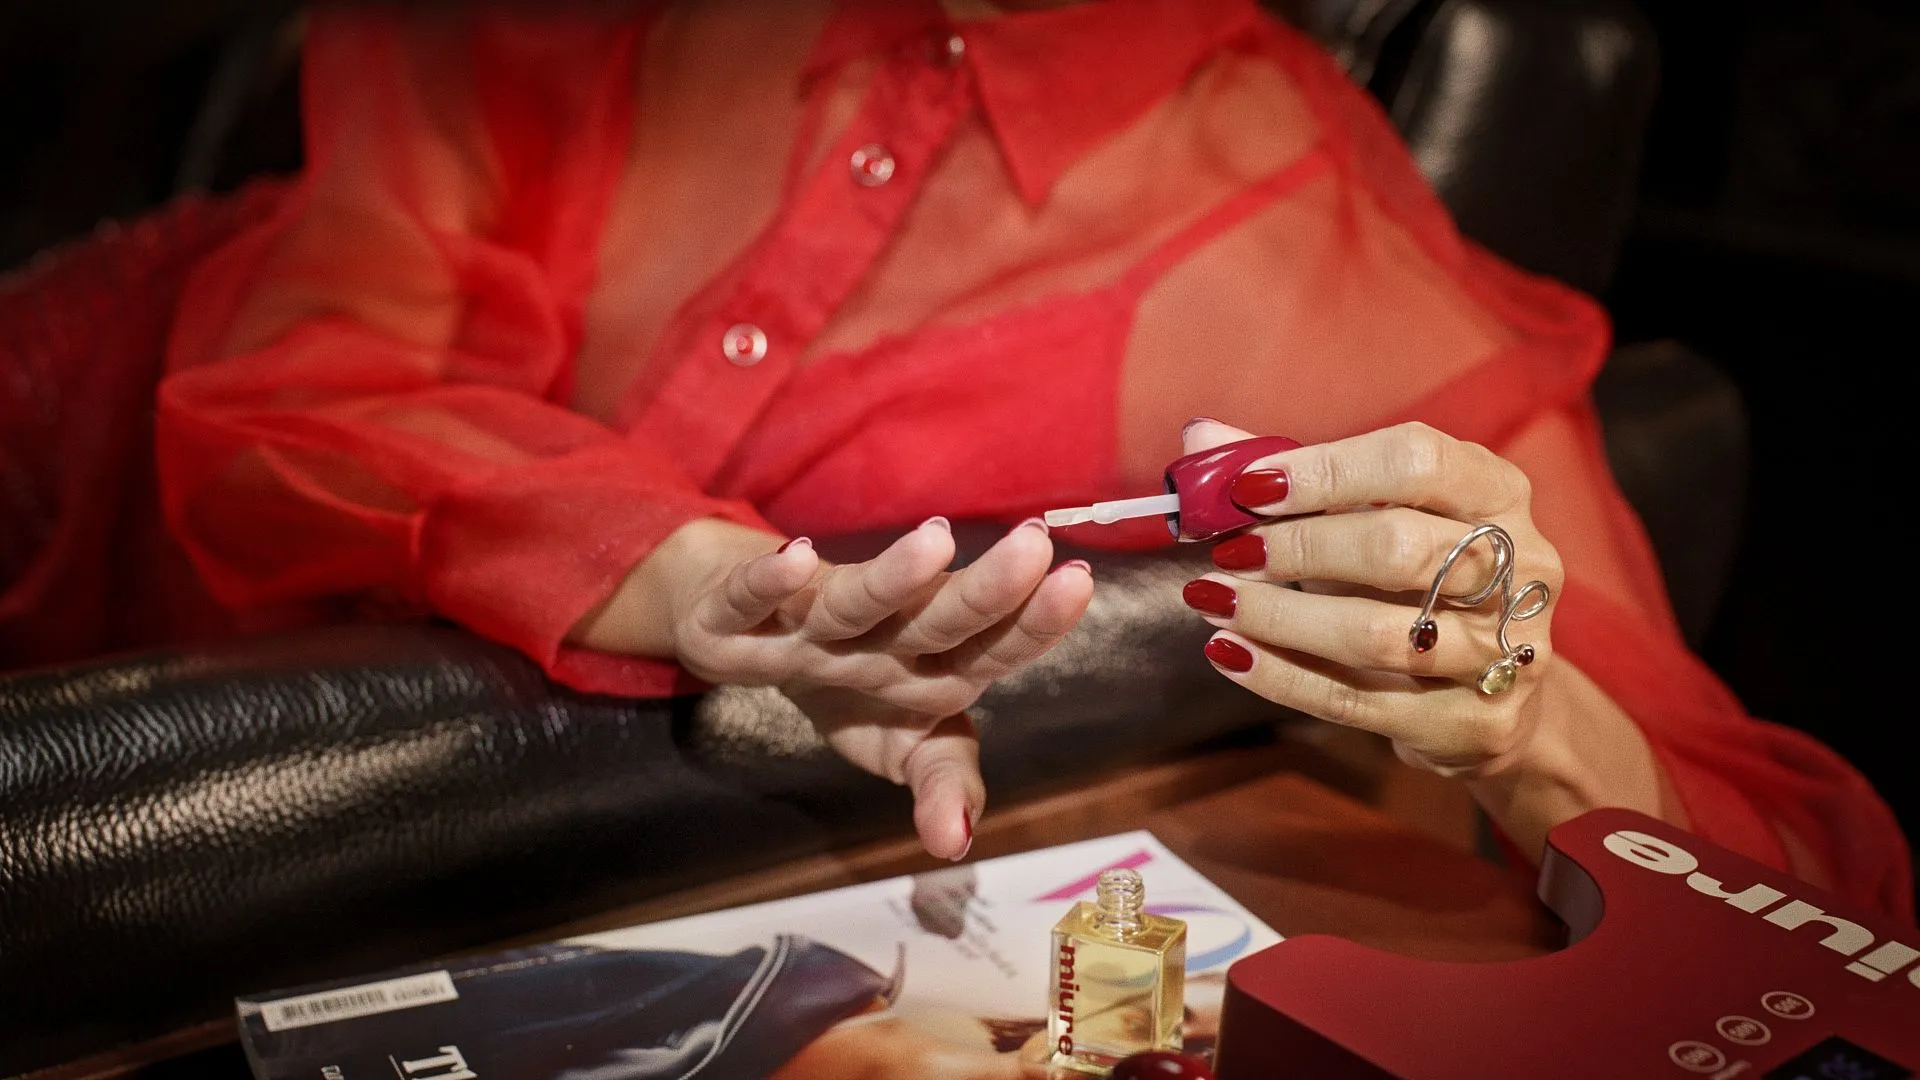
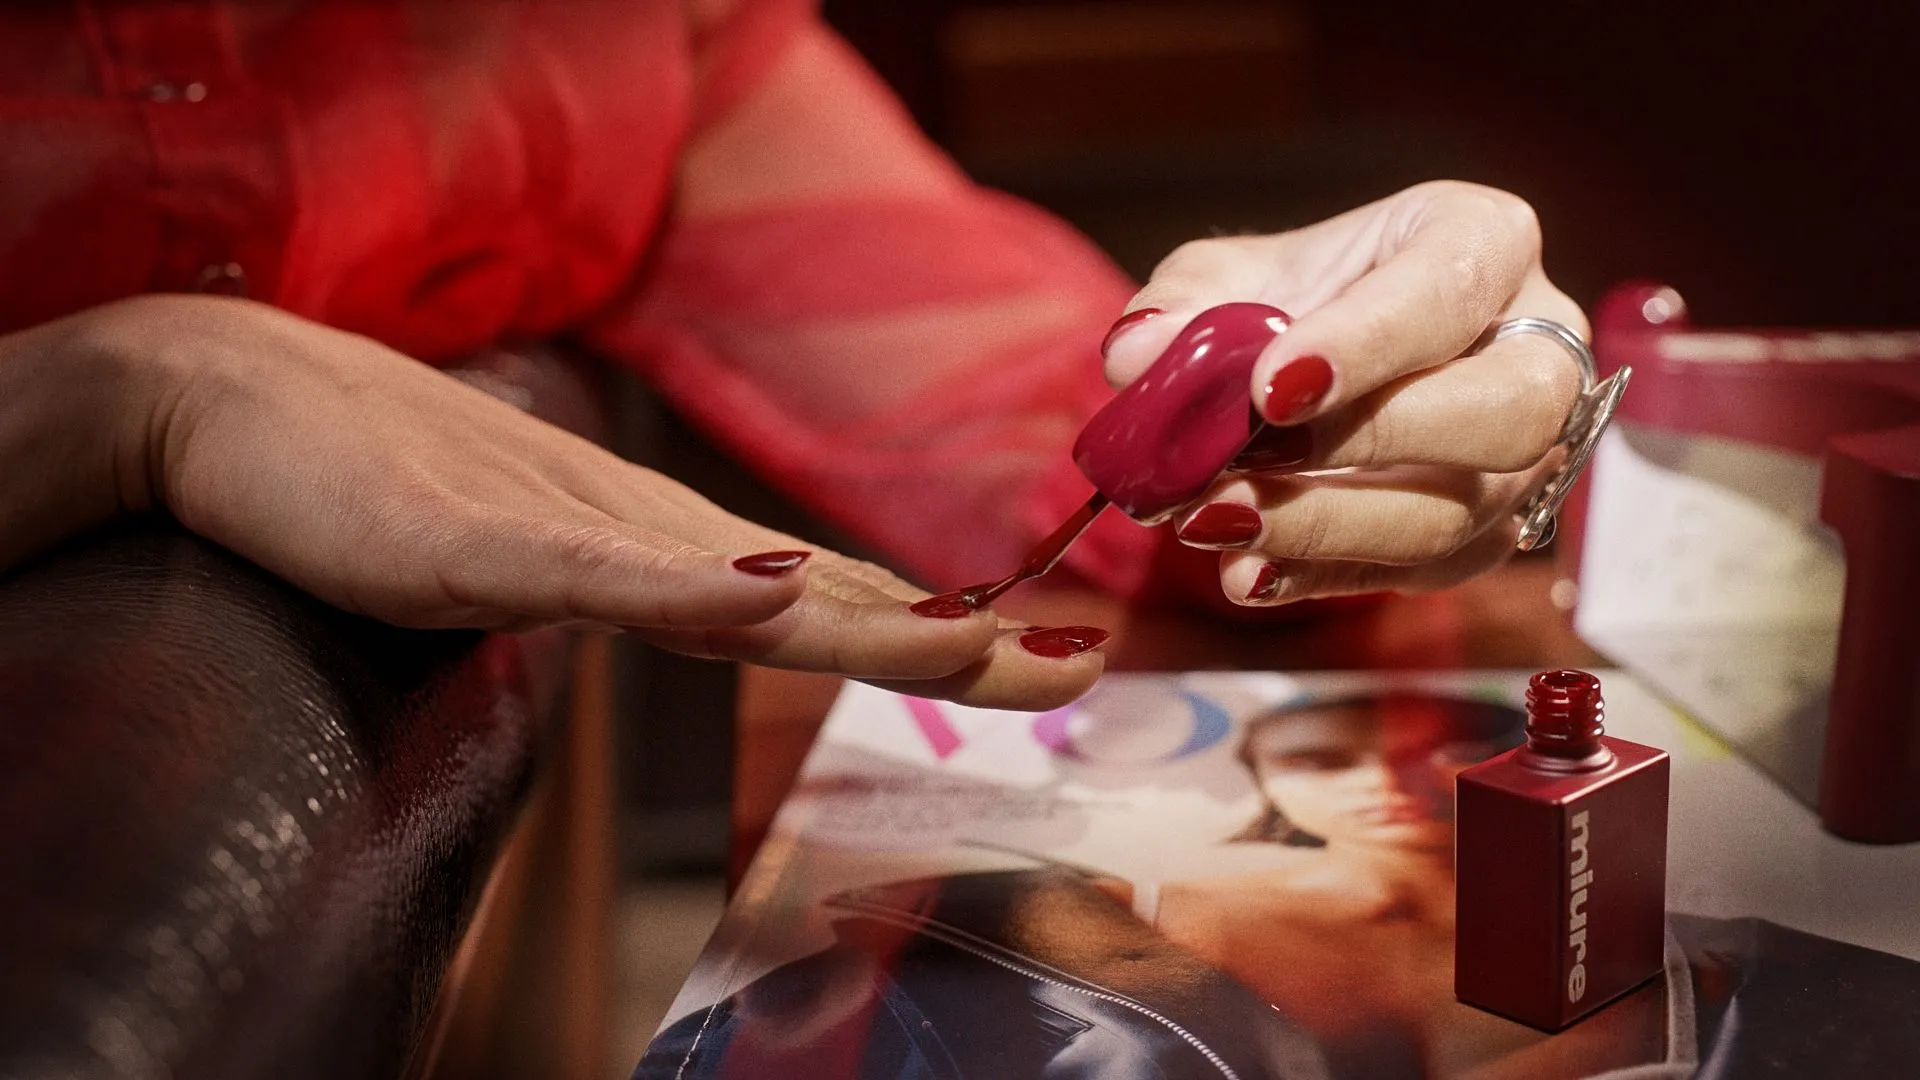
Thin layers, always, cured 30 seconds under the miure lamp.
The top coat seals it all in high shine, no wiping, done when the lamp clicks off.
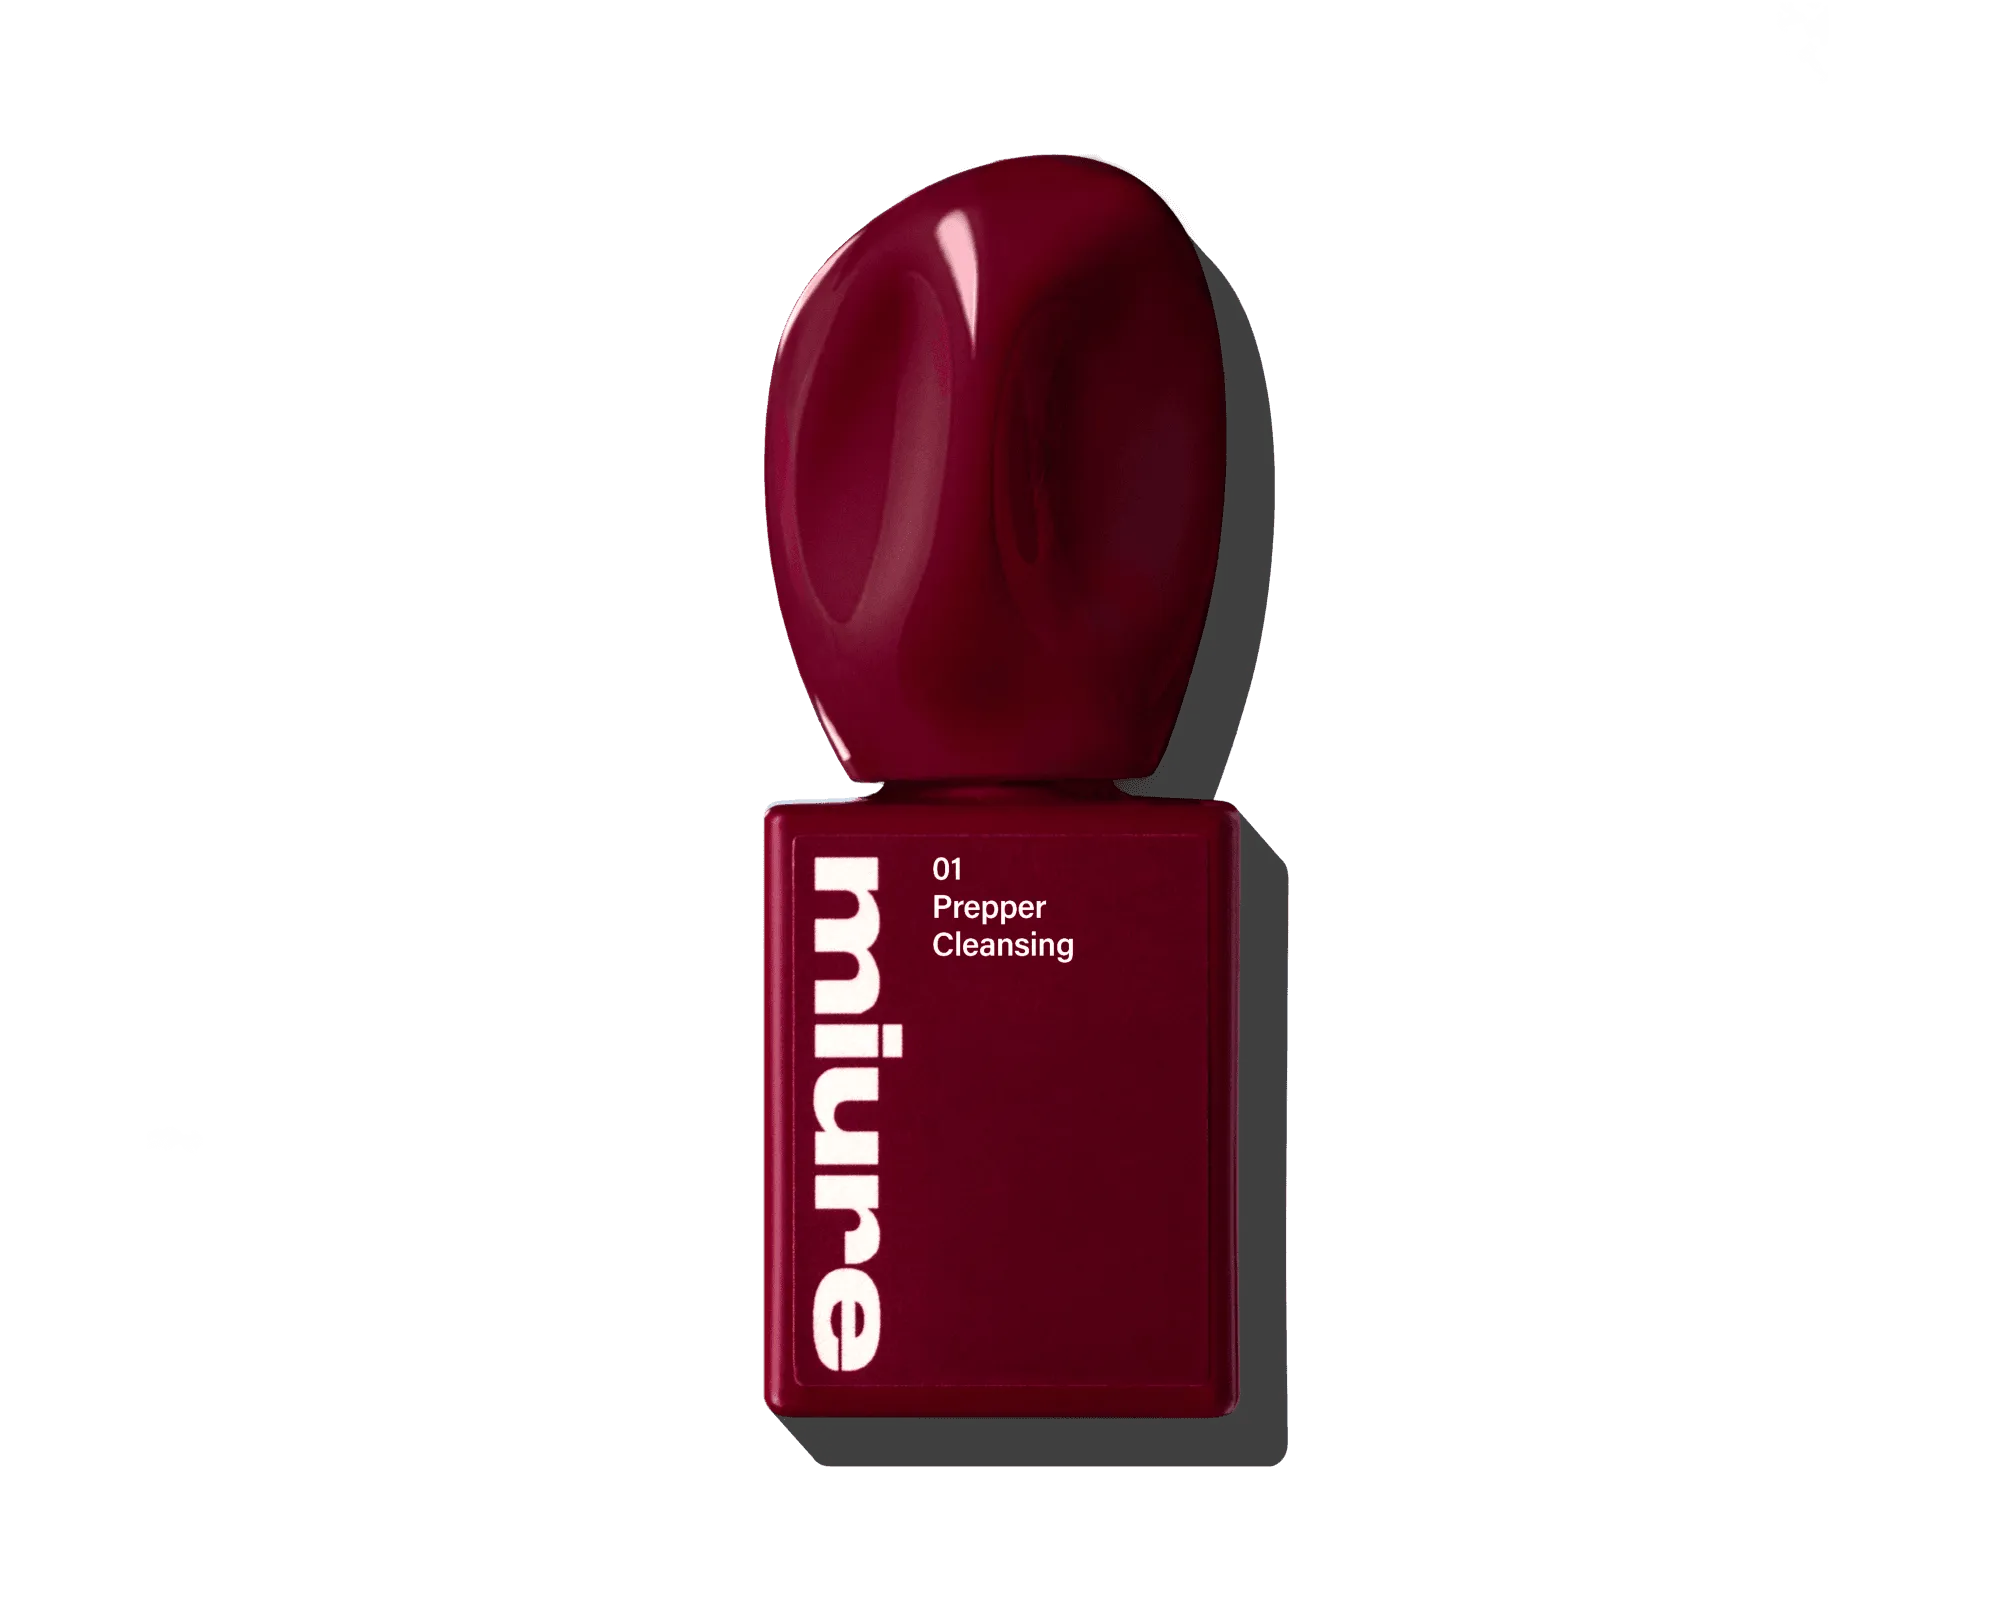
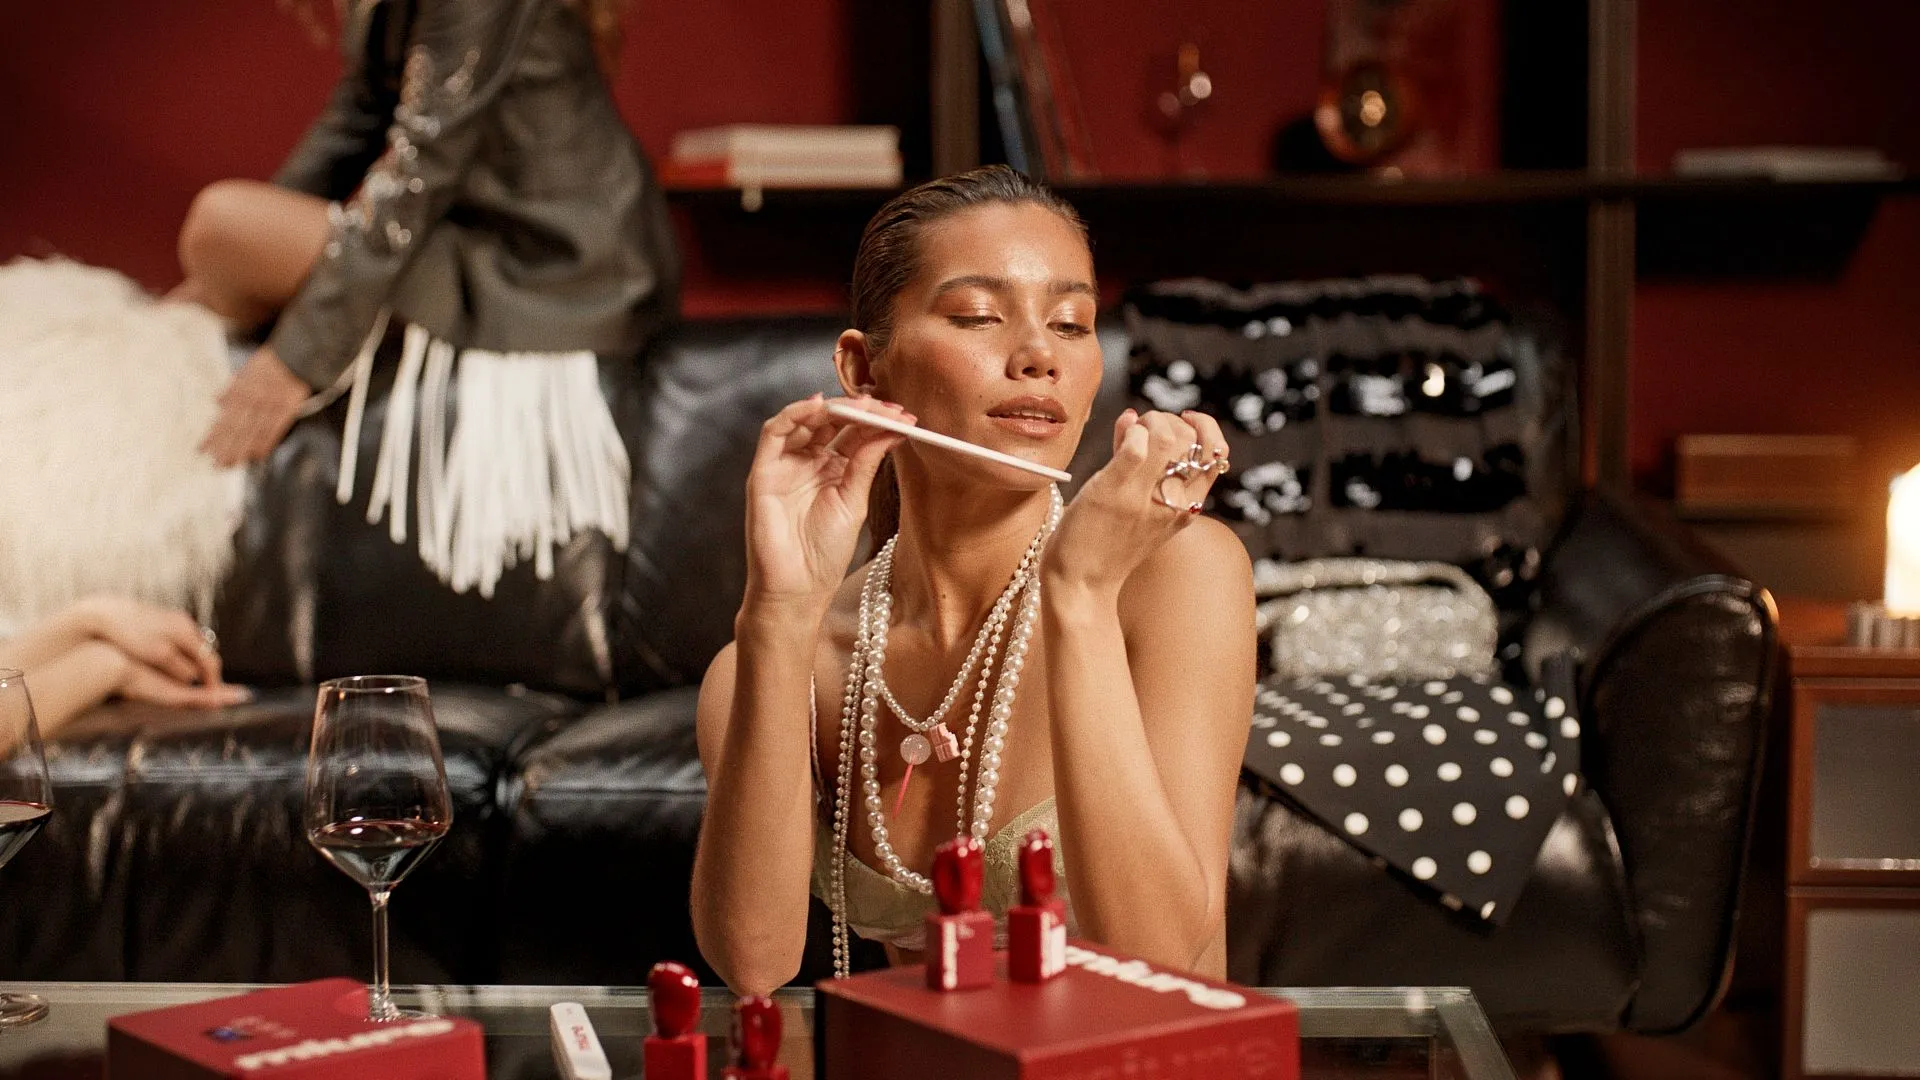
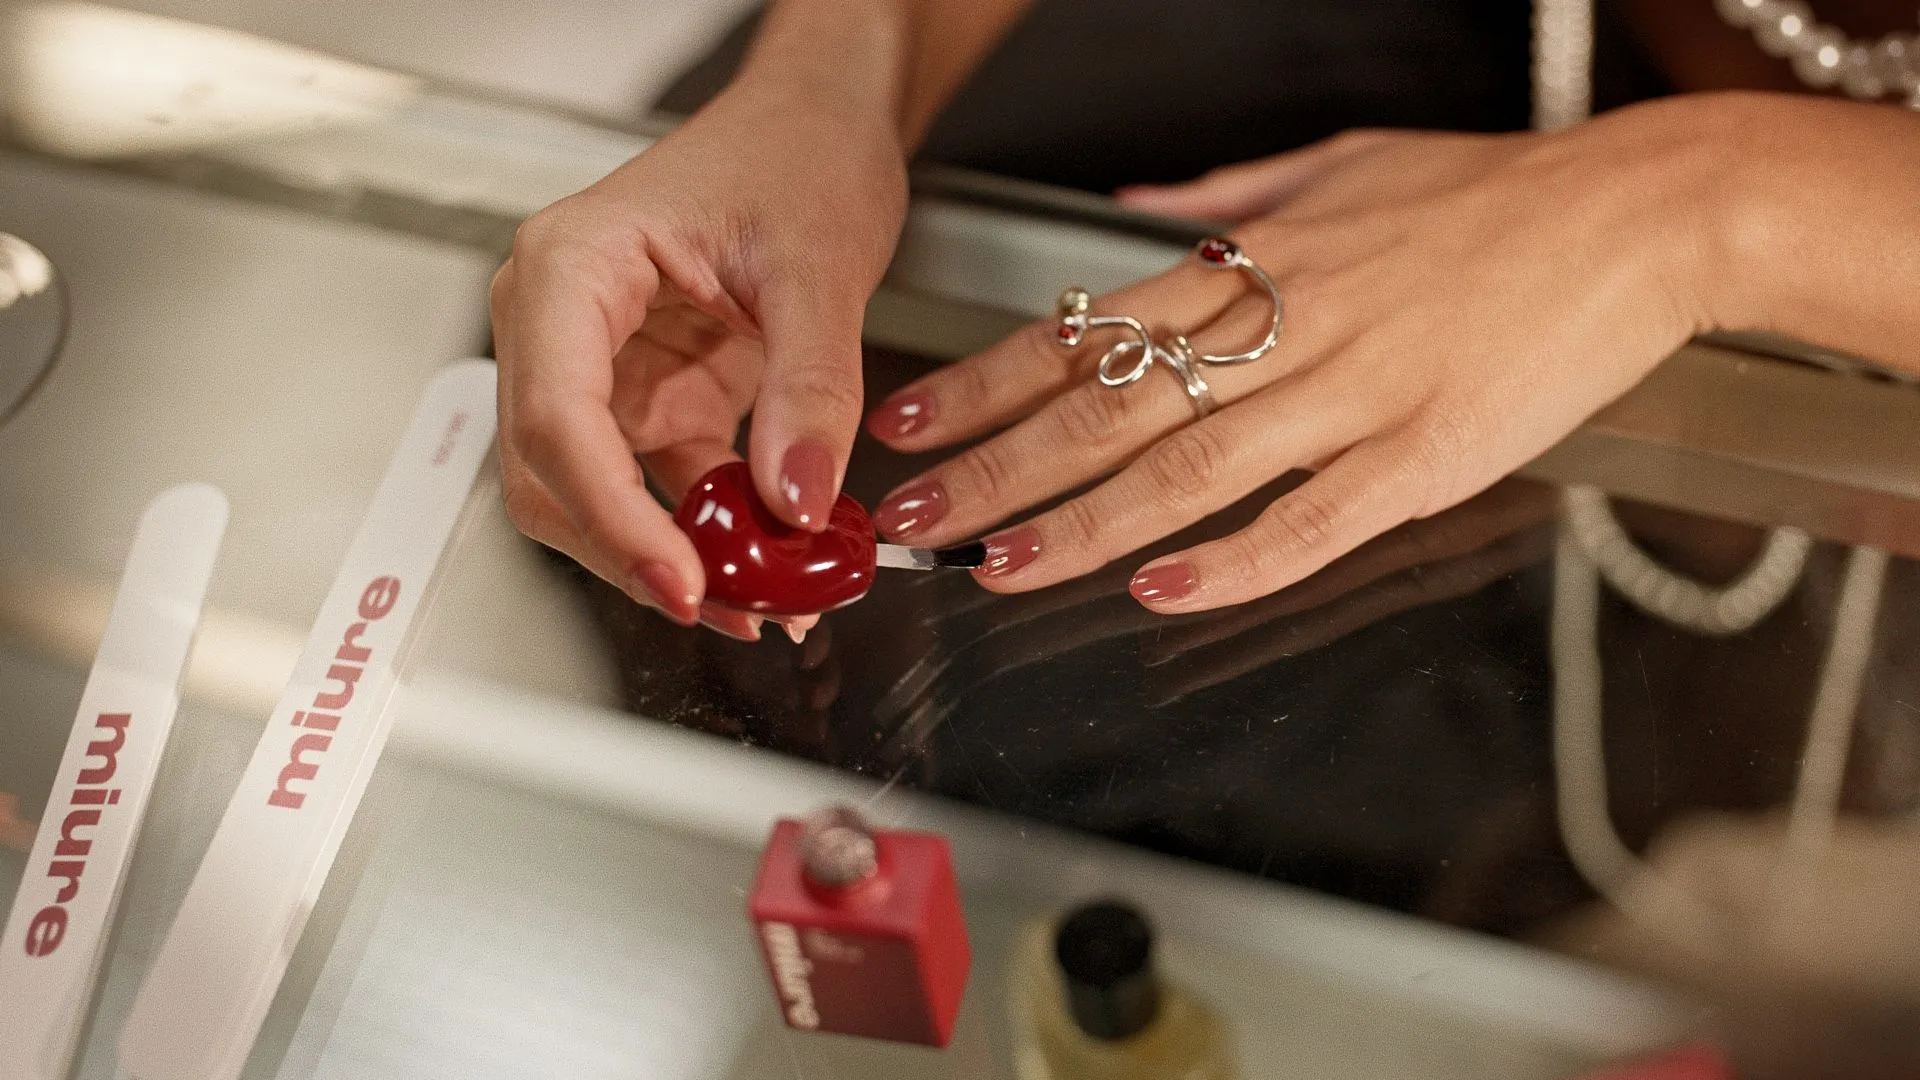
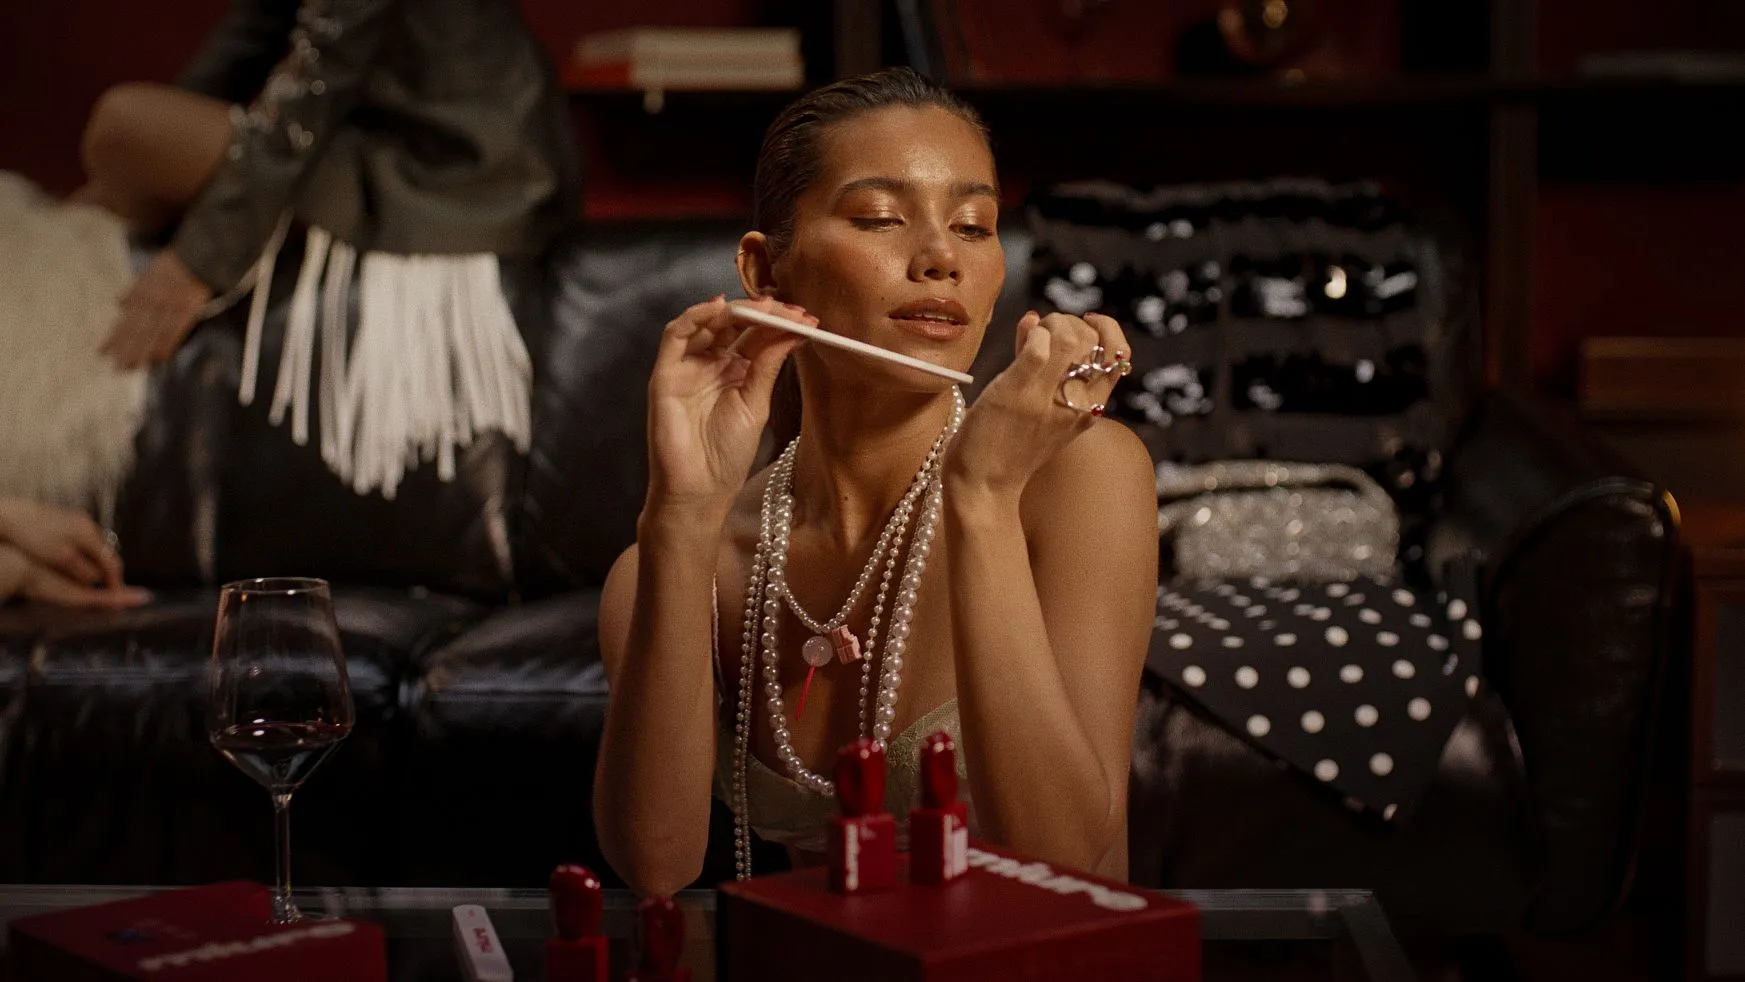
Before the first bottle: cleanse the nail plate with the cleaner, grease and dust are where hold goes to die. Push back your cuticles for a clean line, shape with the 220 side of the file, smooth the surface with the buffer. Five minutes that decide how many days the manicure gets, and the short version is this: gel polish holds onto what you give it, so give it a clean stage.
Strong, hard nails carry the soak-off base coat beautifully: maximum hold, 14+ days, hands and feet. Flexible or fragile nails do better with the peel-off base: it moves with the nail, up to 12 days, where a rigid layer of maximum hold would get chips instead of wear. There’s no better base, only a better match.
Almost every lifted edge traces back to before the manicure: a skipped cleanse, an unbuffed surface, cuticle skin under the base. Prep is the first third of the answer. The other two happen during application: thin layers, and a sealed free edge with every single layer. Get those three right and the wear claims stop being claims.
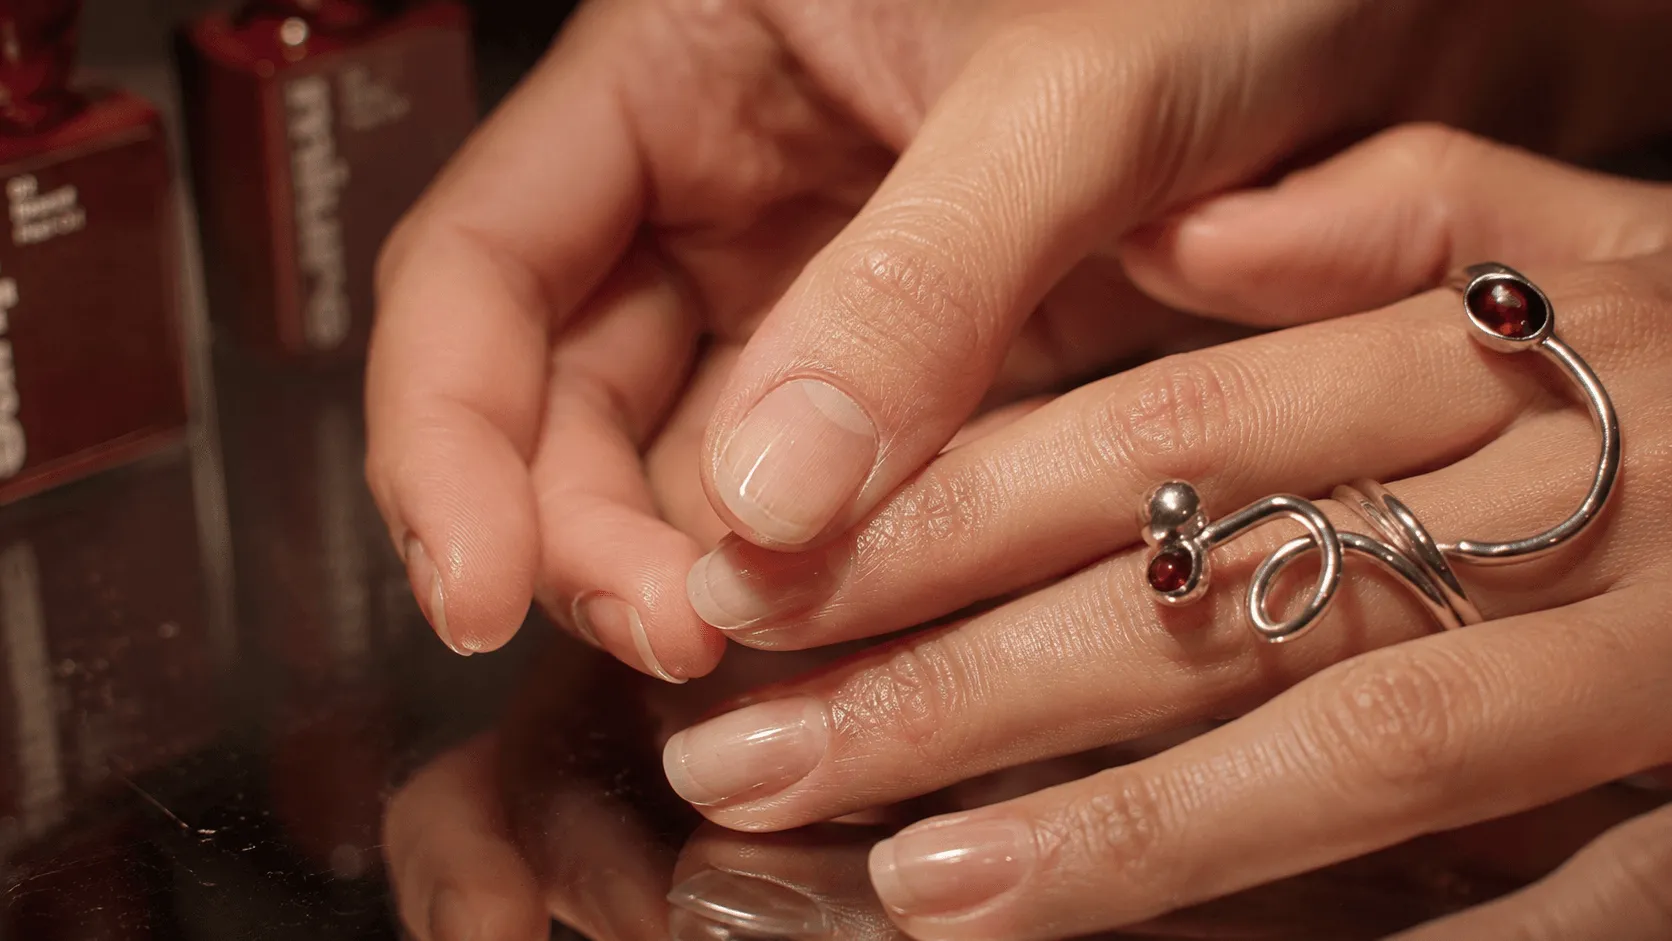
The numbers don’t change. New shade, new effect, hands or toes: same four steps, same order, same habits rewarded. That’s the point of a routine, you stop thinking about the method and start thinking about the colour. Starting from zero? The miure set packs the routine into one box, choices included.
| peel-off base | soak-off base | |
|---|---|---|
| wear | up to 12 days | 14+ days |
| removal | one clean peel, a drop of cleaner | about ten minutes, remover and clips |
| where | hands only | hands and feet |
| best for | flexible or fragile nails, changing your mind often | strong nails, ridges, toenails |
Prep first: clean, push back, shape, buff. Then the numbered steps: 01 prepper, 02 base coat, 03 colour in thin layers, 04 top coat, each colour and finish layer cured 30 seconds under the miure lamp, each layer sealed at the free edge. The bottles carry the numbers, so the routine reads itself.
Because the order is the method. 01 to 04 on the bottle means never wondering what comes next, and never skipping the step that makes the others work. The routine reads itself off the shelf.
Yes, and it’s a short yes. Each step exists because skipping it shows: no prepper and the base lifts, no base and the colour has nothing to hold, no top coat and the shine quits early. Four steps is the whole ask, there’s nothing in the routine to trim.
Prep is everything you do before the bottles: cleaning, cuticles, shape, surface. The prepper is a bottle, step 01, the primer that bonds nail and base. Prep is the stage, the prepper is the opening act.
Start with your nails, then your week. Strong, hard nails: soak-off, they’re made for maximum hold. Flexible or fragile nails: peel-off, it moves with the nail, so you get wear instead of chips. Nails on both teams get the practical tiebreakers: colour on your toes or ridged nails point to soak-off, frequent colour changes point to peel-off.
Yes, always. The base is the layer that actually holds: colour bonds to the base, the base bonds to the nail. Skip it and the manicure has nothing to stand on, and removal gets harder on the nail too.
No. Regular nail polish dries but never cures, so it stays soft and movable underneath, and the gel top coat has nothing stable to bond with. It wrinkles or lets go, usually within days. If you want gel shine, wear the gel system from base to top.
Lifting is almost never the polish, it’s almost always a missing step. The usual suspects: grease left on the nail, cuticle skin under the base, layers applied too thick, or a free edge that wasn’t sealed. Run the full prep, work in thin layers, seal every single layer at the edge. On oily nails, the prepper makes the difference.
No, and that surprises everyone. Soap leaves residues on the nail plate that disturb adhesion. Cleanse with the cleaner instead: it removes grease and dust without leaving anything behind. Wash your hands after the manicure, when it can’t cost you anything.
About 20 minutes, start to finish, both hands. Prep is a few of those, then four steps with 30 seconds under the lamp per colour and finish layer. Longer the first time while you find the rhythm, quicker every time after.