

how to apply gel polish at home
Five minutes of prep, four numbers on the bottles and one habit that outranks the rest. The whole routine in the order you’ll actually do it, from the first wipe to the last 30 seconds of light.
Applying gel polish is mostly a matter of doing things in the right order. A little prep, four steps numbered on the bottles, 30 seconds of light per layer, and the manicure is finished the second the lamp clicks off. This is the whole routine in the order you’ll do it, plus the small habits that decide how many days you get.
before the first bottle: the prep
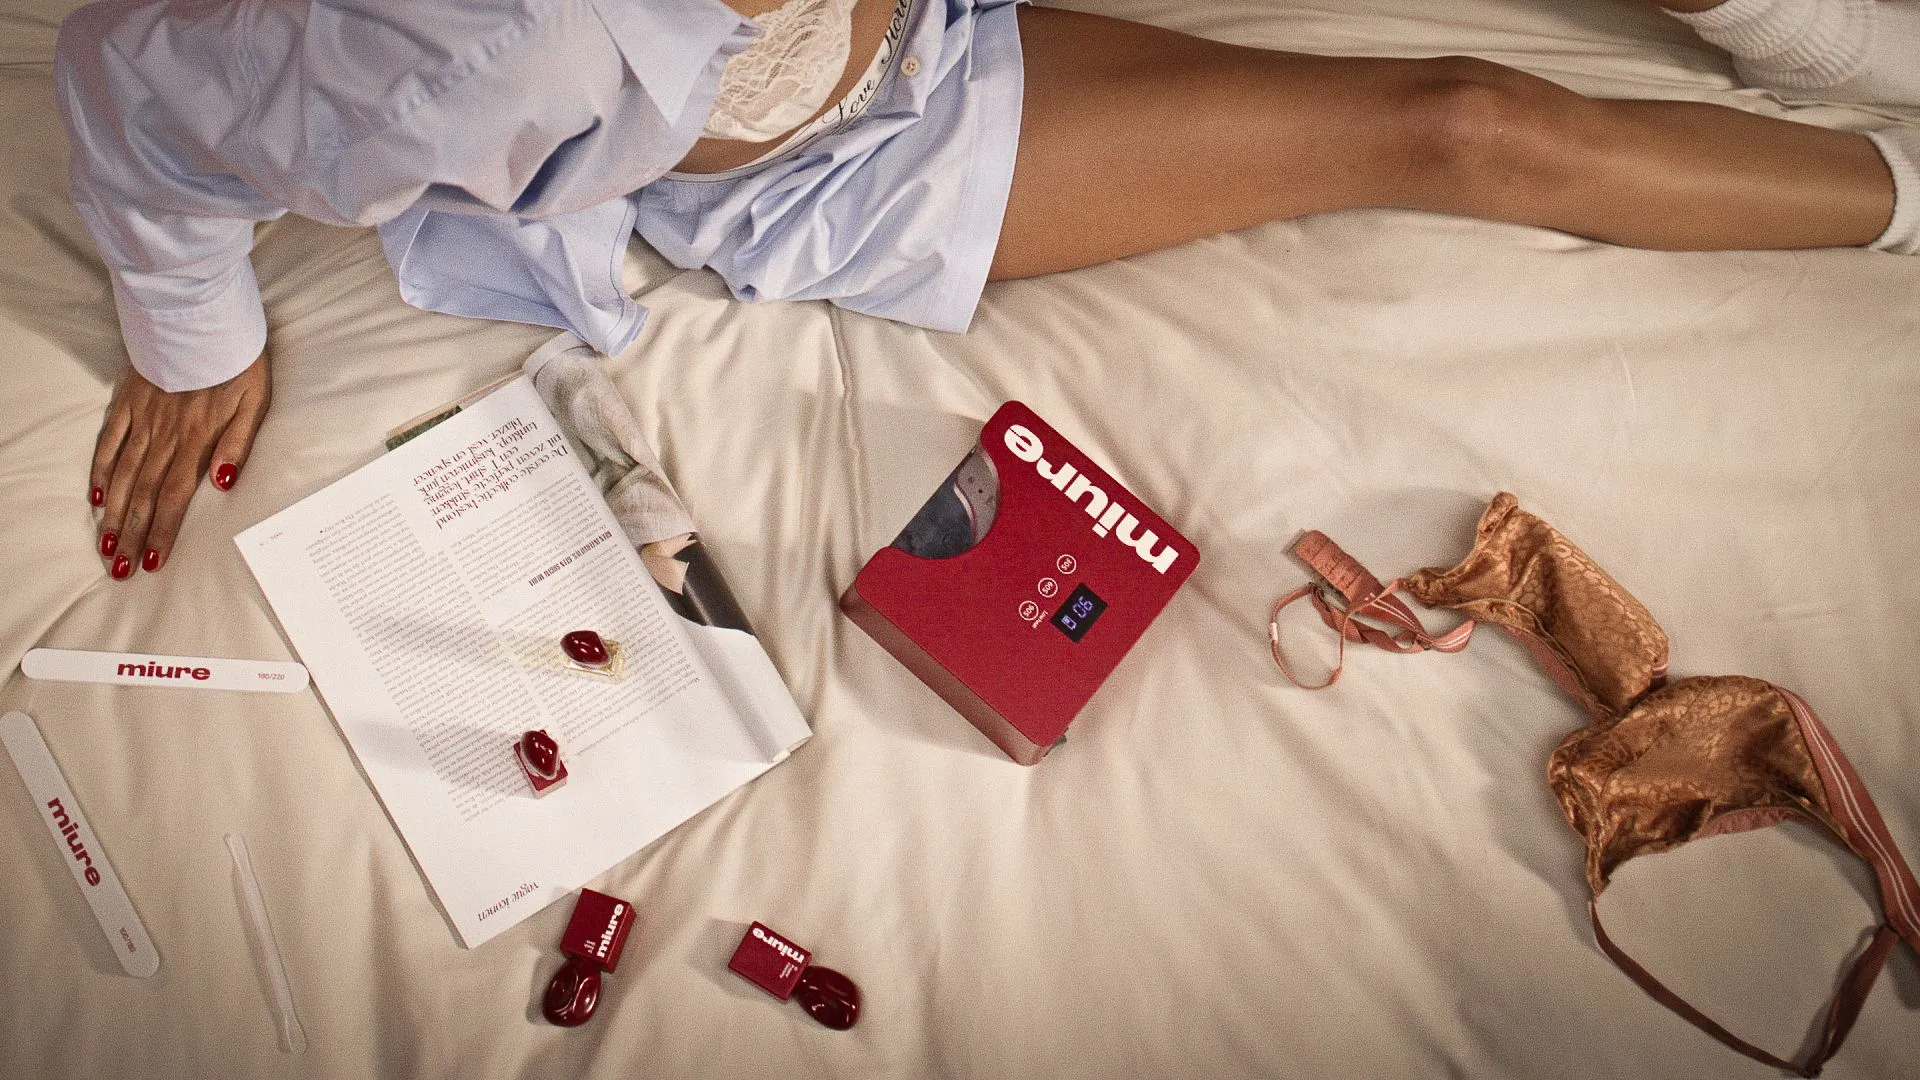
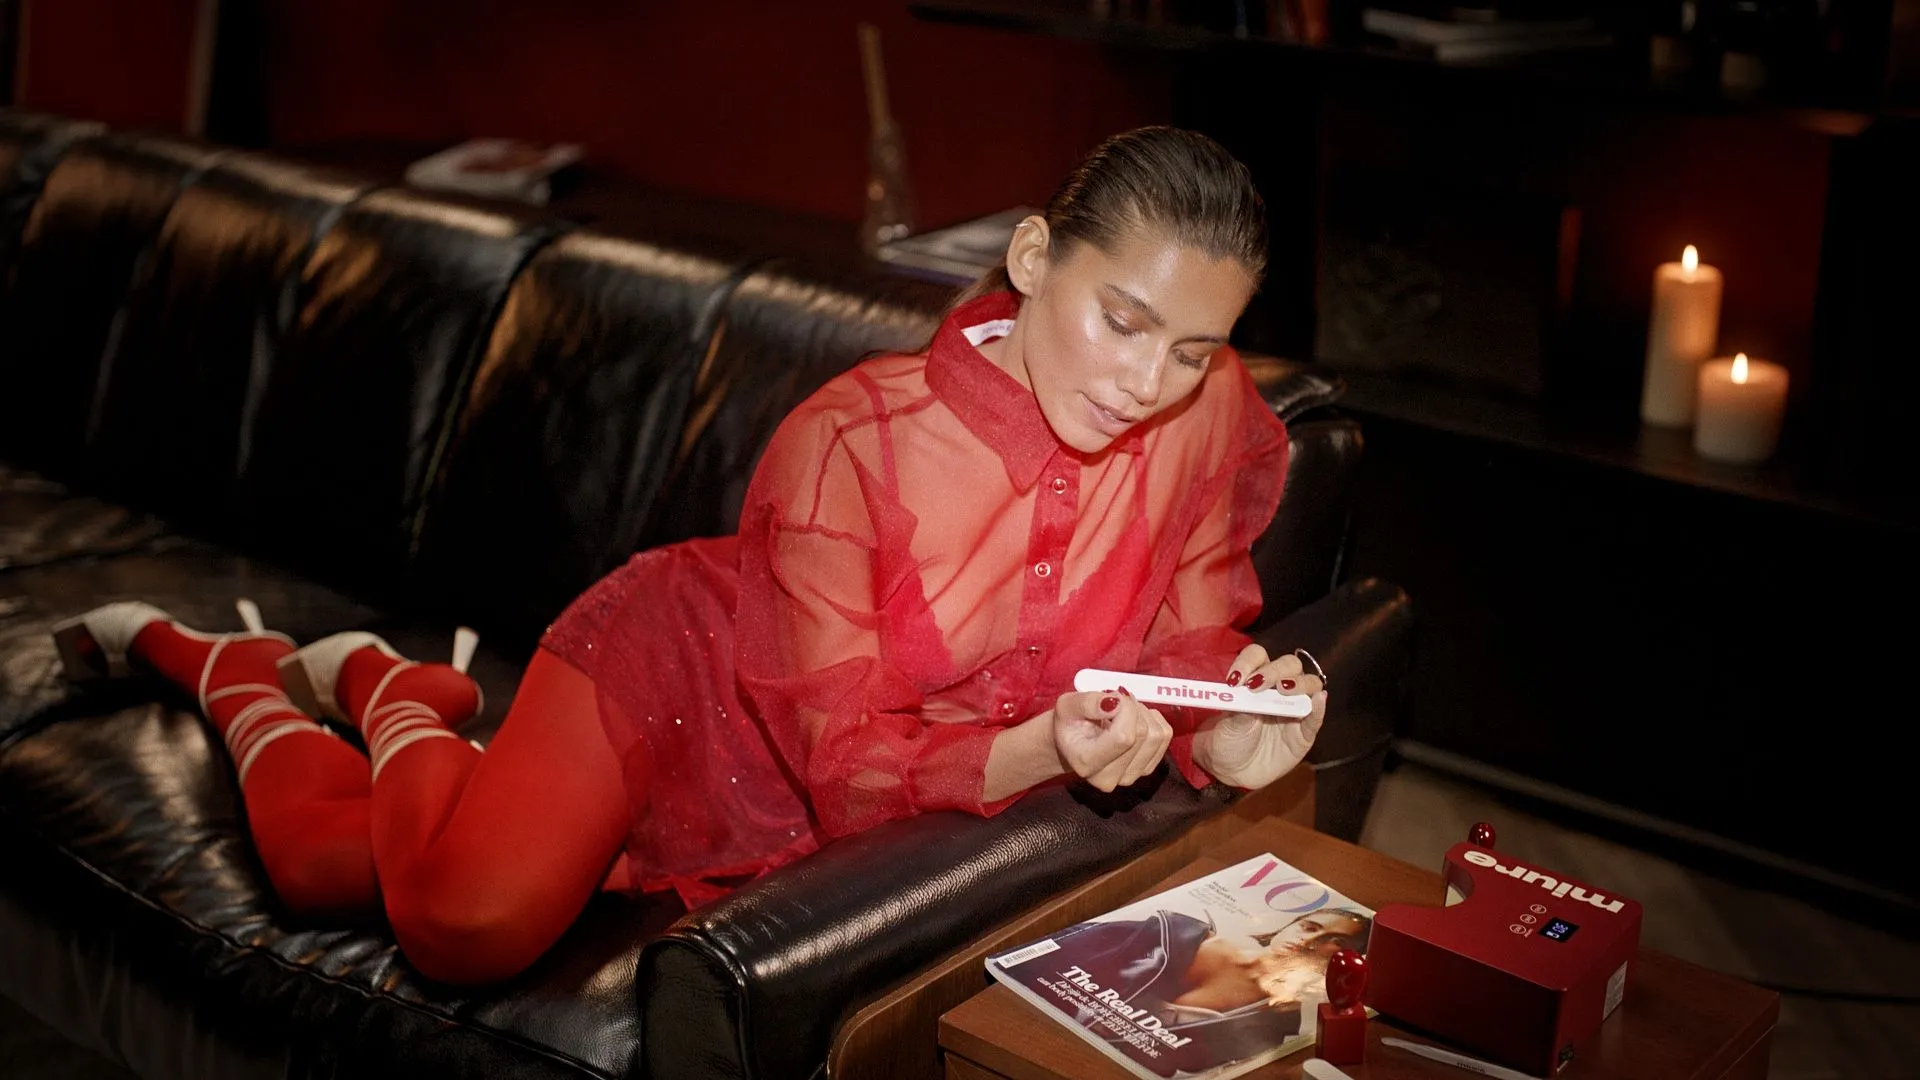
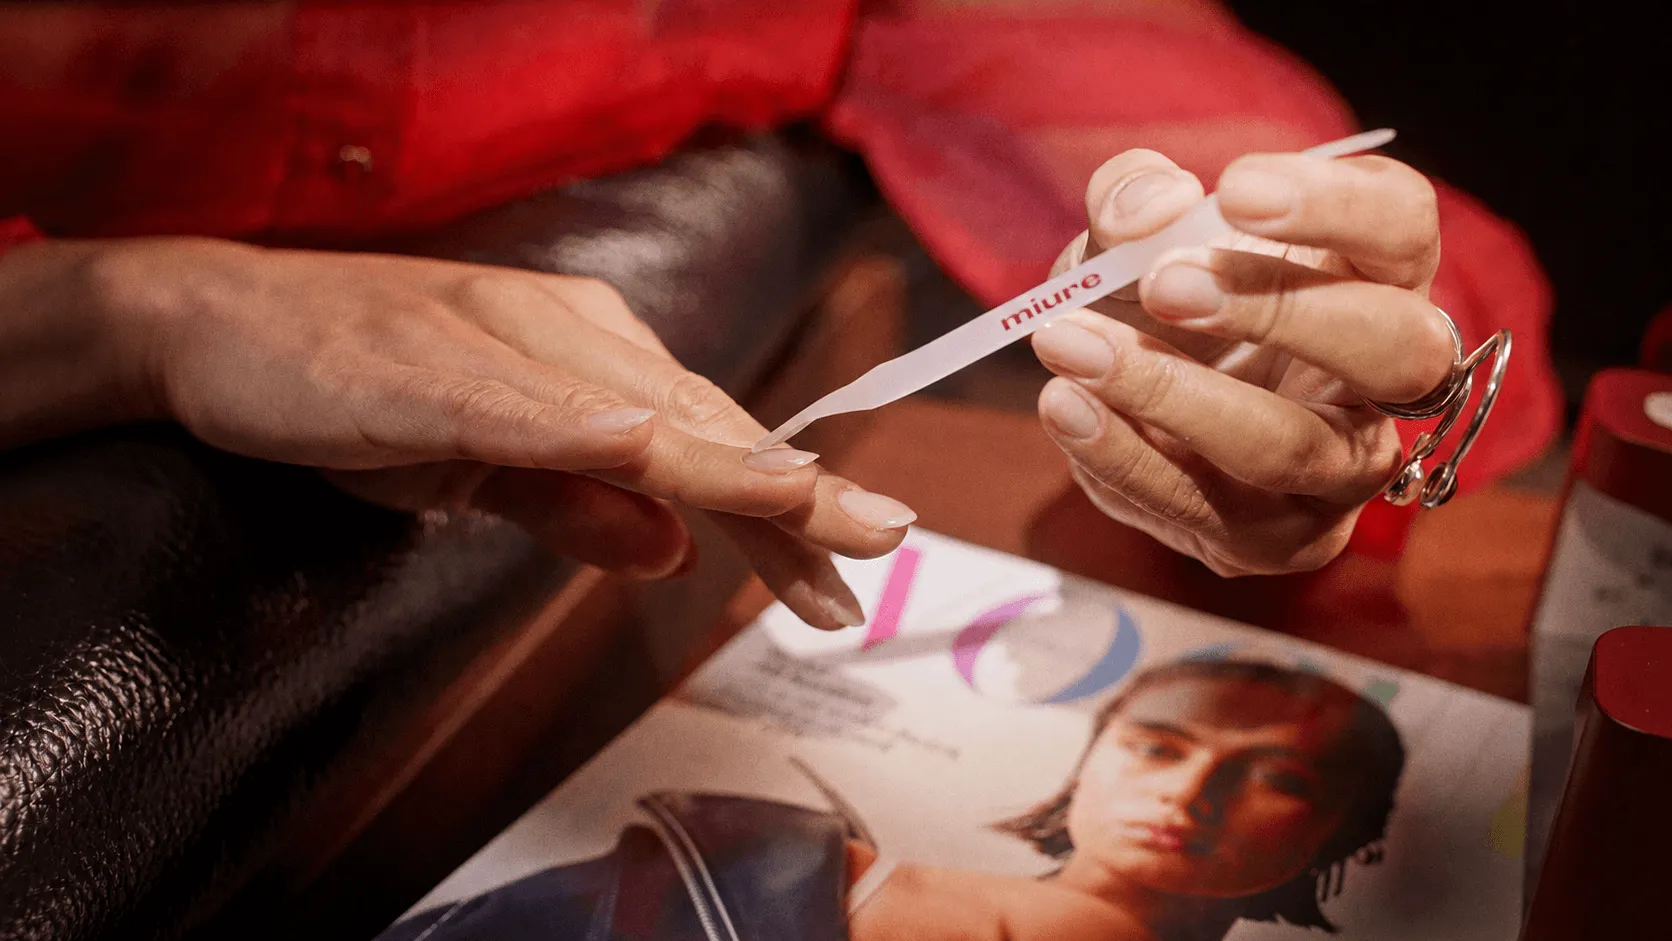
Pick a spot out of direct sunlight: UV cures gel polish even through a window, and the lamp should be the only thing deciding when. Then start dry. Don’t wash your hands first, soap leaves a residue that gets between nail and polish. Cleanse every nail and the skin around it with a lint-free wipe and the cleaner instead. Push the cuticles back gently with the cuticle pusher, small circles, and if they’re stubborn, cuticle remover first and a fresh wipe after. Shape now, never later: the 220 side of the file for normal or thin nails, 180 for stronger ones. Filing a finished manicure opens the seal you’re about to build.
thin, always
the routine, step by step
step by step, 01 to 04
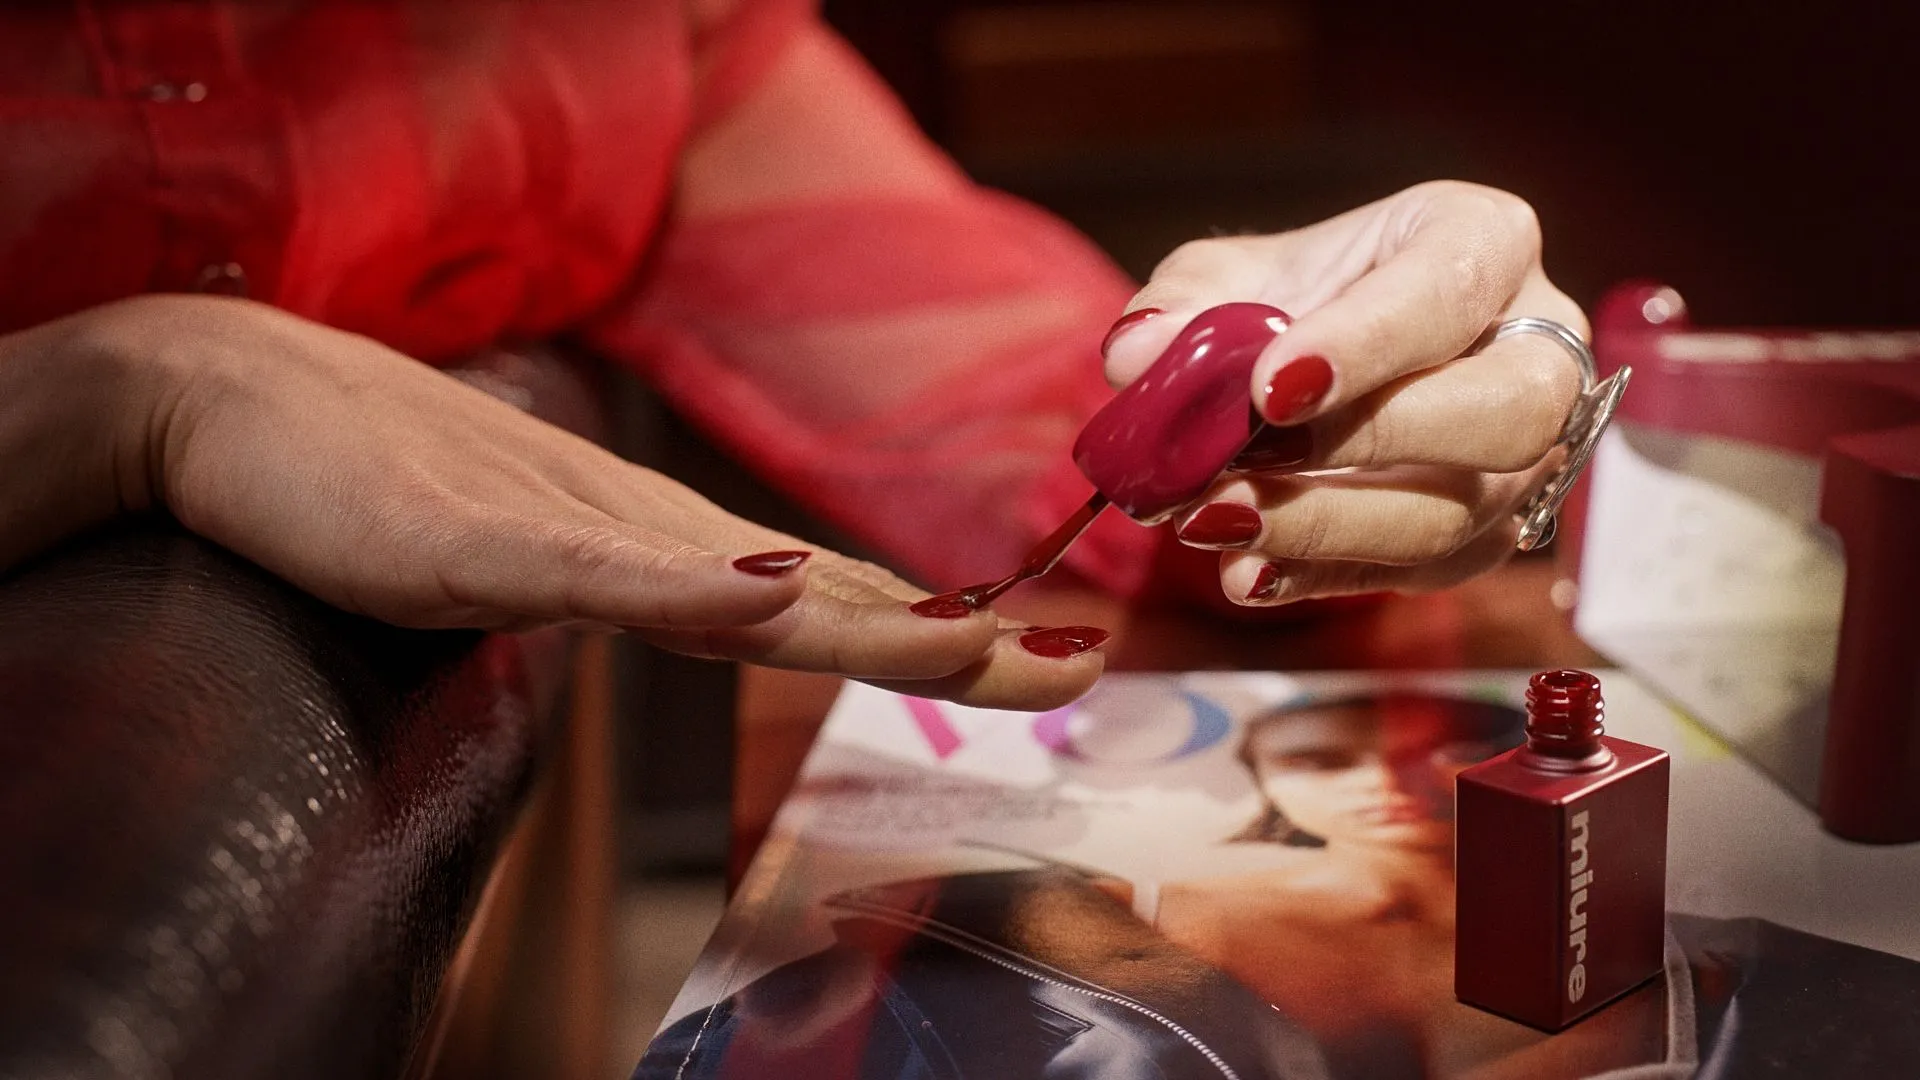
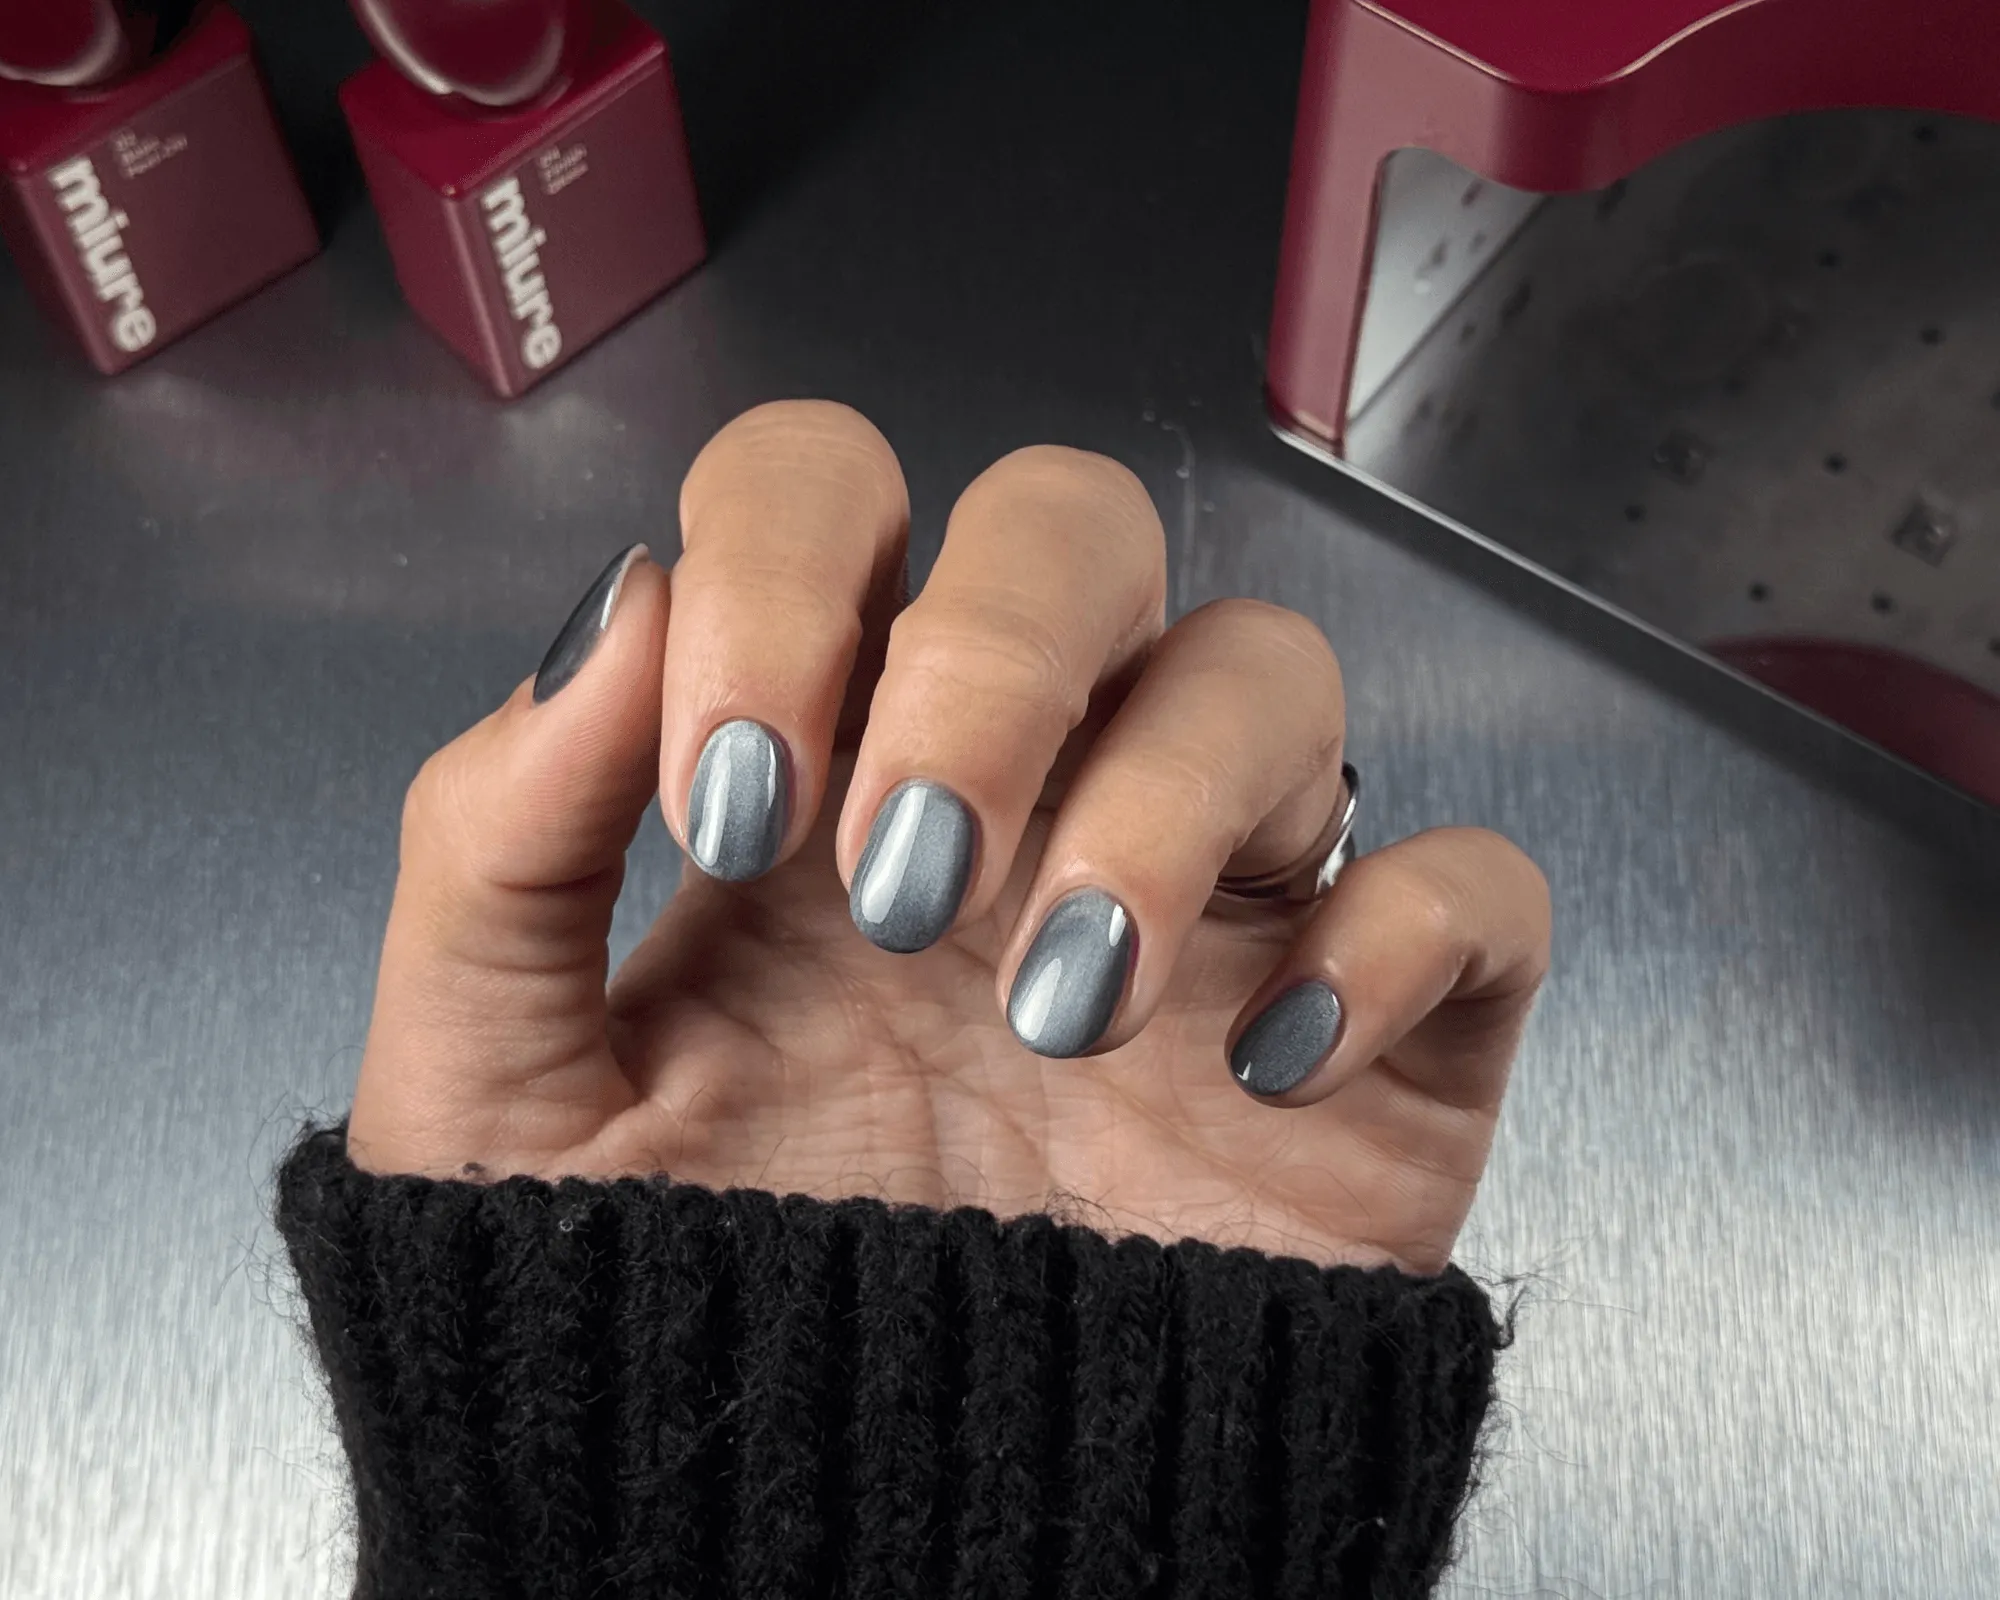
01, prepper. Buff the nail surface with the 180 side of the buffer, the 100 side for cuticle residue that won’t budge, wipe the dust away with the cleaner, then one thin layer of prepper per nail, skin left alone. It air dries in seconds. 02, base. Peel-off or soak-off, one thin layer, free edge sealed. 03, colour. Two thin layers, cuticle to tip, free edge sealed, each one 30 seconds under the lamp, sticky layer left exactly where it is. 04, top coat. Cuticle to tip, free edge sealed, 30 seconds, and this is the one layer that finishes dry. Nothing to wipe. Paint one hand, cure the whole hand at once, thumb included, then swap. When the lamp clicks off after the top coat, you’re done.
step 02: the one decision
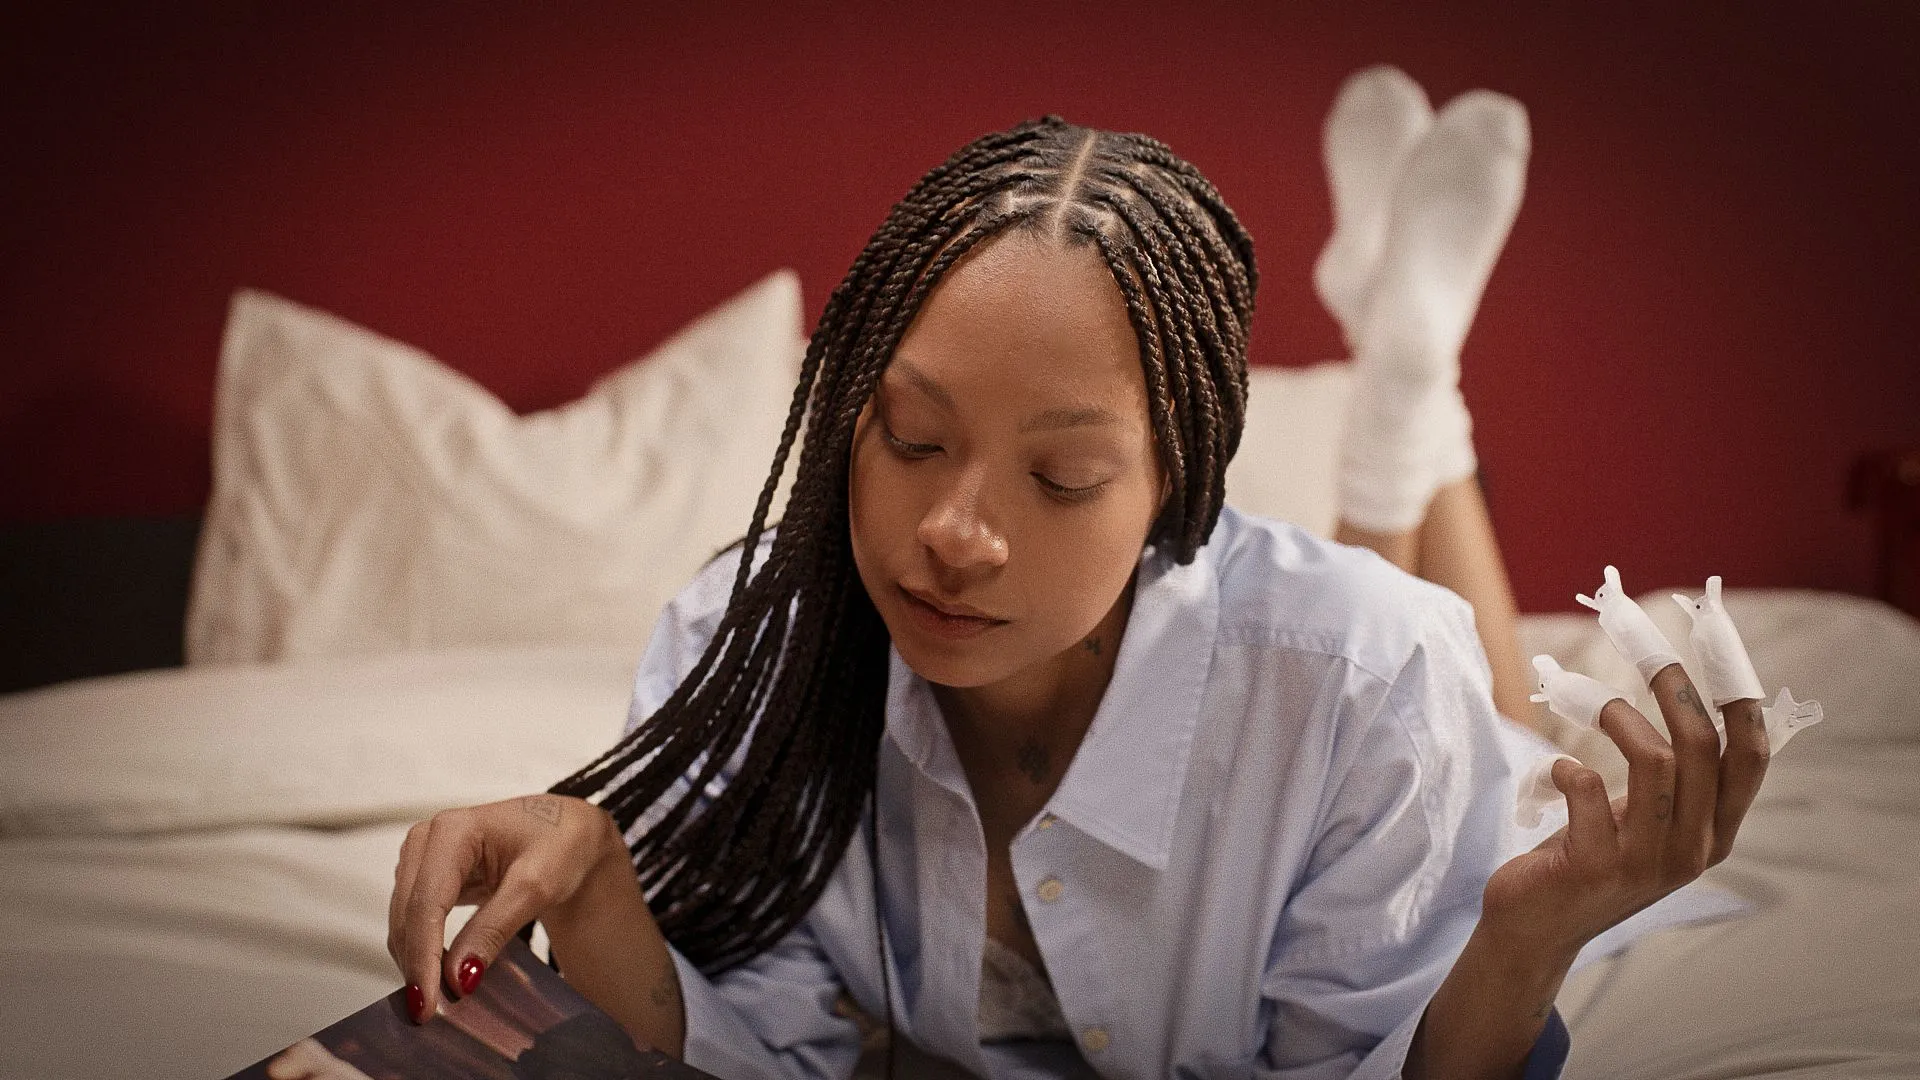
Both bases go on the same way, thin and sealed. What differs is what happens next. The peel-off base gets a good shake and air dries in about half a minute, no lamp. It holds up to 12 days, comes off in one piece, and it’s for hands only, best on softer nails and for anyone who changes colour often. The soak-off base cures 30 seconds under the lamp and keeps its sticky layer on purpose, that’s what your colour holds on to. It holds 14 days and more, suits strong or ridged nails, and it’s the base for toes. Want soak-off hold with a shorter exit? A peel-off base under the soak-off base cuts the removal time. The peel-off or soak-off guide goes deeper.
three habits carry the whole routine
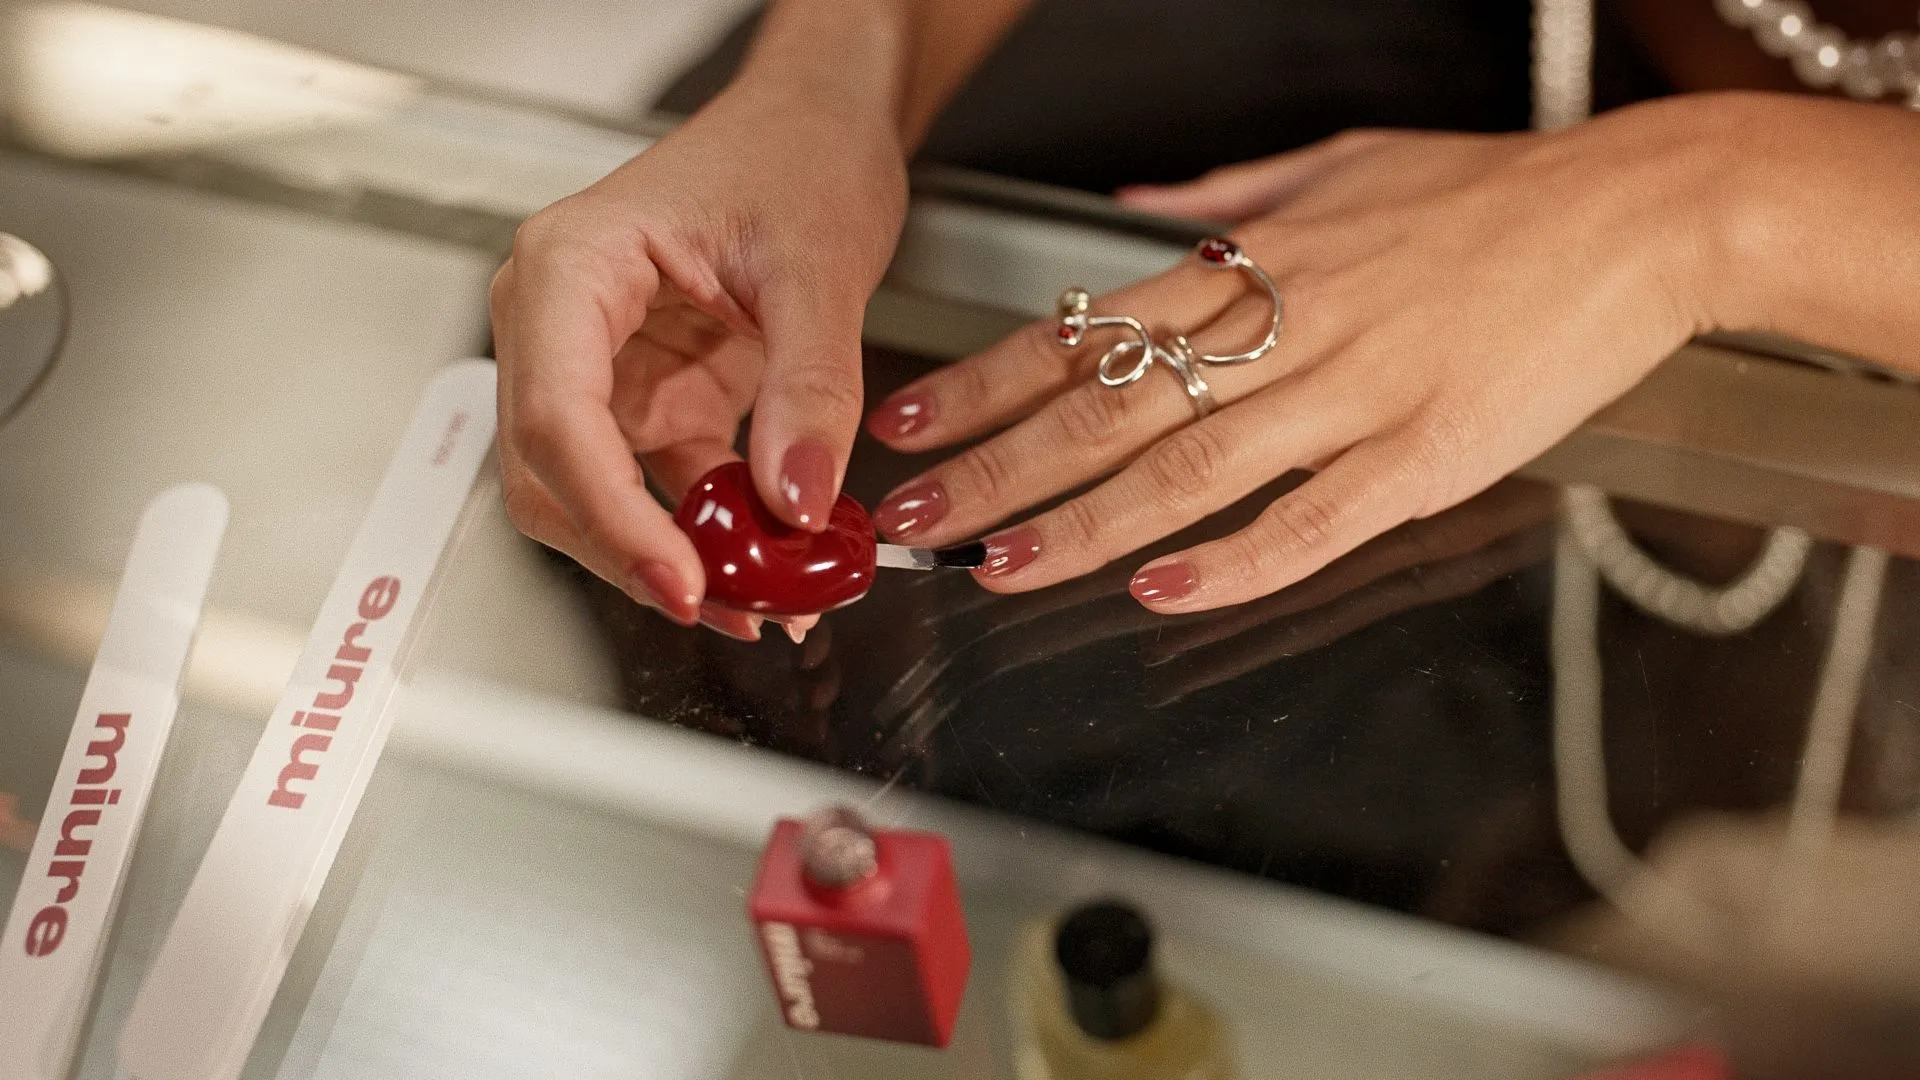
Thin, always. The brush is flared to open across the whole nail and carries just enough product, so one pass covers it: wipe one side on the bottle neck, set the brush a hair’s width from the cuticle, let it fan and pull to the tip. A thick layer wrinkles and lifts early, a thin one cures all the way through. Then that hair’s width: polish that touches skin becomes an edge that catches and lifts, and the gap looks cleaner anyway. And the seal. Base, both colour layers, top coat, each one run along the free edge, because the tip takes every knock of the day. Smudged a nail? Nothing has cured, so wipe it clean and go again.
after the lamp
Now wash your hands, soap can’t cost you anything anymore. Then a drop of cuticle oil per nail, worked in: once the top coat has cured, it goes straight onto the manicure. Close the bottles and put them in a drawer: a bottle left in the sun starts to harden, and that can’t be undone. Both hands take about twenty minutes once the routine is yours, a little longer the first time. From here it’s up to 12 days on the peel-off base and 14+ on the soak-off, and the removal guide is waiting for the day it ends.
what the routine takes
frequently asked questions
How do you apply gel polish step by step?
Prep first: cleanse, push the cuticles, shape, buff, wipe the dust. Then the four numbered steps: 01 prepper, 02 base, 03 colour in two thin layers, 04 top coat. Every layer gets the free edge sealed. The colour, the top coat and the soak-off base get 30 seconds under the lamp each, while the prepper and the peel-off base air dry.
How many layers of gel polish do you need?
One layer each of prepper, base and top coat, and two thin layers of colour. Two thin beat one thick every time. Each shade’s page tells you whether it’s opaque or sheer, and a sheer shade stays sheer at two layers, and one layer gives the subtlest version.
Why is my gel polish sticky after curing?
After the base and the colour, on purpose: the sticky layer is what the next coat holds on to, so leave it alone. After the top coat it shouldn’t be there. If it is, the layer was too thick or the lamp too weak. Apply thinner and cure again, up to 60 seconds on a less powerful lamp.
Do I have to wash my hands before applying gel polish?
No, and it surprises everyone. Soap leaves a residue that affects adhesion, so cleanse each nail with a lint-free wipe and the cleaner instead. Wash your hands afterwards, when it can’t cost you anything.
How long does it take to apply gel polish?
About twenty minutes for both hands once the routine is yours, prep included. The first time takes longer, as everything does. The miure lamp takes a whole hand at once, thumb included, so each layer is one cycle of 30 seconds per hand, not a finger at a time.